Pressure vs Vacuum Brake Bleeder: Which One Should You Buy?
Pressure vs vacuum brake bleeder: how the two methods differ, the solo-friendly pressure setup, the correct bleeding order and four kits compared.

On this page
Top picks at a glance
As an Amazon Associate we earn from qualifying purchases.
- 1
 VEVOR Tire Seater9.7/10View on Amazon
- 2
 FOUR UNCLES 2L Pneumatic Brake Bleeder Vacuum Pump Kit with9.6/10View on Amazon
- 3
 Handheld Vacuum Pump Brake Bleeder Kit with Pressure Gauge9.4/10View on Amazon
- 4
 AGM Pressure Brake BleederView on Amazon
- 5
 GEARWRENCH Air Pump Brake Bleeder TankView on Amazon
- 6
 Motion Pro 08-0143 Hydraulic Brake Bleeder Brand: Motion ProView on Amazon
- 7
 1L Brake Bleeder Bottle One Way Check ValveView on Amazon
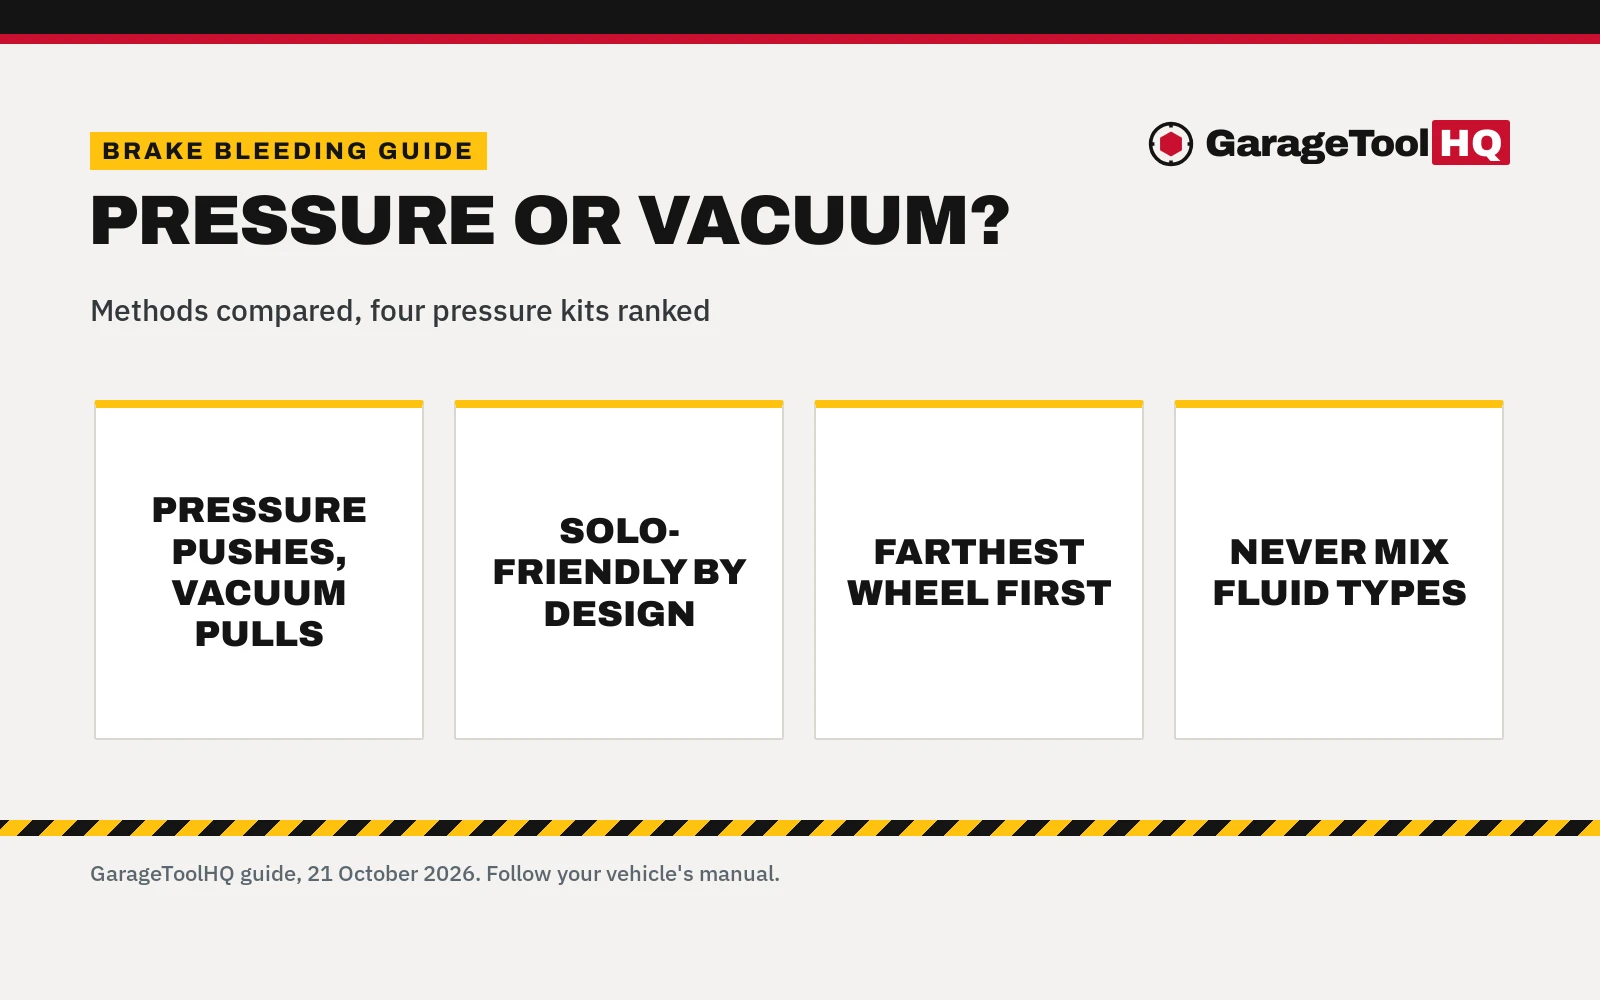
Pressure vs vacuum brake bleeder: which one should you buy? A pressure bleeder pressurizes the master cylinder reservoir and pushes fresh fluid down to the calipers; a vacuum bleeder draws fluid out at the bleeder screw. For solo home-shop work, a pressure bleeder is the simpler one-person setup: fill the tank, pressurize it with the hand pump, then open each bleeder screw in turn. All four kits below are pressure bleeders, ranked by score.
More options to compare
 AGM Pressure Brake BleederCheck price on Amazon
 GEARWRENCH Air Pump Brake Bleeder TankCheck price on Amazon
 Motion Pro 08-0143 Hydraulic Brake Bleeder Brand: Motion ProCheck price on Amazon
 1L Brake Bleeder Bottle One Way Check ValveCheck price on Amazon
GarageToolHQ earns a commission when you buy through links on this page, at no extra cost to you. Read our affiliate disclosure.
Below: how the two methods differ, why pressure suits solo work, the four pressure kits ranked, the bleeding order that works, and what the listings tell you.
Pressure vs vacuum brake bleeder: how the two methods differ
| Method | How it works | Solo? | Watch out for |
|---|---|---|---|
| Pressure bleeder | A hand pump pressurizes the fluid tank, pushing fresh fluid from the master cylinder down to the open bleeder screw | Yes; all four listings here state one-person operation | The adapter must seal on the reservoir; three kits include 4 adapters to fit more vehicles |
| Vacuum bleeder | A pump draws fluid out at the caliper bleeder screw into a catch container | Yes | No vacuum-bleeder listing is in this set, so vacuum fit figures are not stated here |
Both methods end at the same place: clean fluid with no air at every wheel. The pressure kits here keep the reservoir full while you work, so you are less likely to run it dry mid-job.
Why pressure bleeders suit solo work
Every listing here is built for one person: fill the reservoir with fresh fluid, attach the adapter, pressurize with the hand pump, and connect the waste bottle. Three of the four state a pressure gauge so you can watch the system while you bleed, and two state a safety or pressure relief valve to prevent excessive pressure buildup. The Langawaser adds a hanging chain for hands-free operation, and the BreeRainz listing describes a portable chain design for the same reason.
The gear: 4 pressure bleeders, ranked by score
1. Langawaser 3L Bleeder (score 74). The top pick: a 3L pressure pump with a 1L waste bottle and 4 adapters at 43.5, 45, 49.5 and 50.7mm, an easy-read pressure gauge, a hanging chain, a pressure relief valve and an included wrench. The listing gives full bleeding steps and troubleshooting, and the kit weighs 3.74 lb.
2. BreeRainz 3L Bleeder . A 3L reservoir with a 1L waste bottle, 4 adapters in the same four sizes, a readable pressure gauge, a chain and a wrench, at 3.3 lb. The listing states clutch-system use alongside brakes. Note: the bullets call it a vacuum pump once, though the title and every other bullet describe a pressure bleeder.
3. SMOTIVEPRO 2L . A 2L tank with a 1L waste bottle and 4 adapters (E20 45mm, J 50.7mm, B1 43.5mm, B3 49.5mm), a pressure gauge and a safety relief valve, at 4.38 lb. The listing states compatibility with ABS-equipped vehicles and clutch systems.
4. OMT 2.5L Bleeder . A 2.5L polyethylene tank with a 500mL catch bottle and silicone hoses, at 4.16 lb. It includes a single 4.25 by 6.75-inch rectangular adapter for AMC, Chevrolet, Ford, Jeep and Dodge vehicles from 1967 to the mid-80s. No gauge or relief valve is stated.
How to pressure-bleed: the order that works
The Langawaser listing lays out the procedure all four kits follow:
- Set up. Park on a flat surface, engage the parking brake and turn off the engine. Open the hood and find the brake fluid reservoir.
- Fill with the correct fluid. Fill the pressure tank with the correct type of new brake fluid. Do not mix different fluid types.
- Seal the adapter. Remove the reservoir dust cap, install the matching adapter cap and tighten it securely so the connection seals.
- Pressurize. Connect the hose and pump to the recommended range. Do not press the relief valve during bleeding.
- Bleed farthest first. Start at the wheel farthest from the master cylinder and move closer: right rear, left rear, right front, then left front. Loosen each bleeder screw 1 to 2 turns and watch the fluid until no air bubbles appear, then tighten the screw.
- Release pressure before disconnecting. Press the relief valve to release pressure safely, then remove the adapter.
If pressure will not build or fluid will not flow, the listing says to check that the relief valve button is fully released, the adapter cap is tight, the tank has enough fluid and the bleeder screw is loosened and not blocked.
What the listings tell you
We read four pressure brake bleeder listings, all manual one-person kits. Tank sizes run 2L, 2.5L and 3L (two at 3L); waste bottles are 1L on three kits and 500mL on the OMT. Three kits include 4 master cylinder adapters around 43.5 to 50.7mm; the OMT includes one rectangular adapter for older American vehicles. Three state a pressure gauge; two state a relief or safety valve. Stated weights run 3.3 to 4.38 lb. No warranty term is stated on any listing.
Use rated jack stands on solid ground, wear eye protection with power and air tools, keep fuel-burning equipment out of a closed garage, and follow the manual for every tool. Read our Safety Disclaimer.
Frequently Asked Questions
Which is better for a beginner, pressure or vacuum?
A pressure bleeder is the simpler solo setup: the listings here all describe one-person operation with a hand pump and a waste bottle, and two state a relief valve to guard against over-pressurizing.
What order do I bleed the brakes in?
Start at the wheel farthest from the master cylinder and move closer: right rear, left rear, right front, then left front, per the Langawaser listing. Follow your vehicle manual if it gives a different order.
Can I mix brake fluid types?
No. The Langawaser listing says to fill with the correct type of new brake fluid and not to mix different fluid types.
Which kit fits the most vehicles?
The Langawaser, BreeRainz and SMOTIVEPRO each include 4 adapters around 43.5 to 50.7mm covering American, European and Asian makes. The OMT includes one rectangular adapter for AMC, Chevrolet, Ford, Jeep and Dodge vehicles from 1967 to the mid-80s.
Do these work on ABS and clutch systems?
The SMOTIVEPRO listing states compatibility with ABS-equipped vehicles and clutch systems, and the BreeRainz listing states clutch-system use.
Related: our picks for the best brake bleeder kit, the best brake bleeding kit and the best brake bleeder for solo mechanics.