How to Use Radiator Pressure Checker: Step-by-Step Garage Guide
A step-by-step garage guide to checking cooling system pressure, finding radiator and hose leaks, and refilling coolant without trapped air pockets.

On this page
Top picks at a glance
As an Amazon Associate we earn from qualifying purchases.
- 1
 OMT Master Coolant Pressure Tester Kit9.5/10View on Amazon
- 2
 DAYUAN 28Pcs Universal Radiator Pressure Tester Kit Coolant9.5/10View on Amazon
- 3
 OMT Coolant Pressure Tester Kit9.4/10View on Amazon
- 4
 AutoLine Pro HyperSmoke™ Automotive Smoke Machine EVAP VacuumView on Amazon
- 5
 ANCEL S3000 Automotive Smoke MachineView on Amazon
- 6
 Automotive Smoke Machine EVAP Leak Detector Vacuum LeakView on Amazon
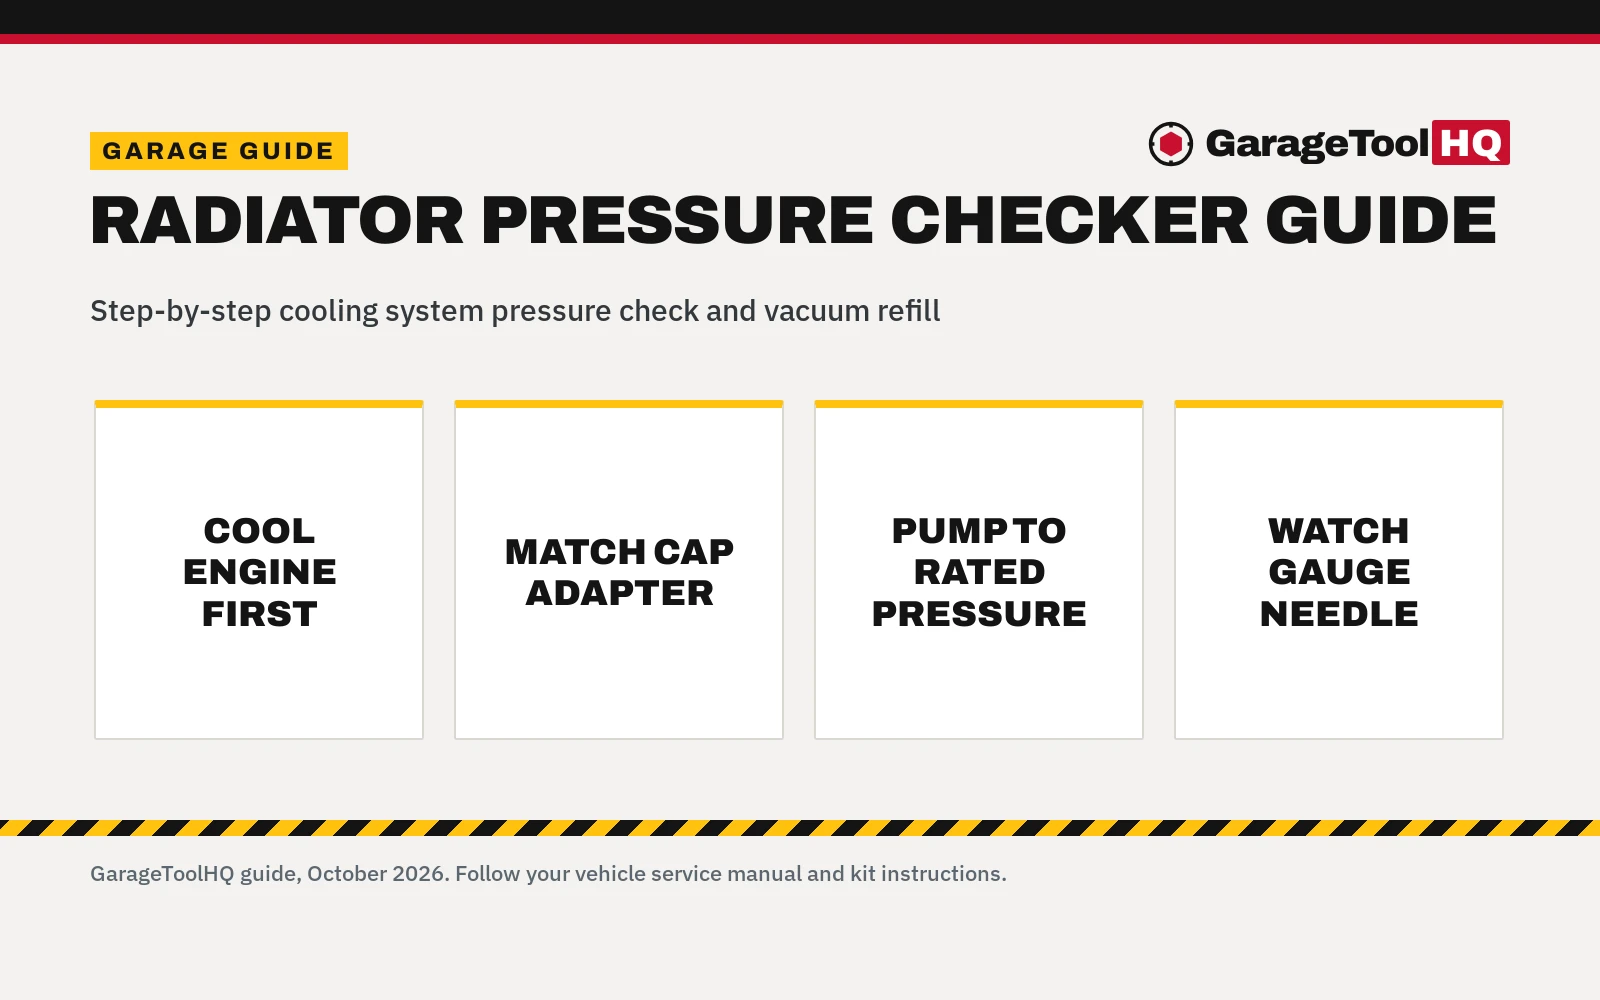
How to use radiator pressure checker equipment comes down to a straightforward process: attach the matching adapter to the radiator filler neck or expansion tank, pressurize the system up to its rated operating level, and watch the gauge needle. If pressure holds steady, the cooling circuit demonstrates good static pressure integrity. If the needle falls, escaping air or fluid helps pinpoint leaks at hoses, cracked plastic tank seams, thermostat housings, or water pump gaskets before severe engine overheating happens. Inspecting a cold engine in the garage beats waiting on the highway for a tow truck after an unexpected temperature spike.
More options to compare
 AutoLine Pro HyperSmoke™ Automotive Smoke Machine EVAP VacuumCheck price on Amazon
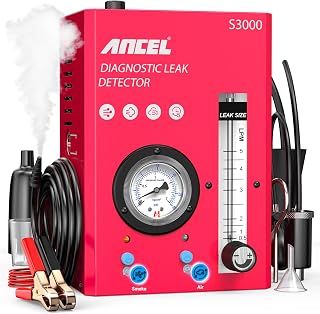 ANCEL S3000 Automotive Smoke MachineCheck price on Amazon
 Automotive Smoke Machine EVAP Leak Detector Vacuum LeakCheck price on Amazon
GarageToolHQ earns a commission when you buy through links on our product pages, at no extra cost to you. Read our affiliate disclosure.
Below: how cooling system pressurization works, common adapter styles, a step-by-step garage inspection procedure, and how vacuum refill tools prevent trapped air pockets.
How to use radiator pressure checker kits to locate cooling leaks
Automotive cooling systems are sealed and pressurized. Under normal driving, heat expands the coolant mixture, creating pressure that raises the boiling point above that of unpressurized water. When a hose splits, a tank seam fatigues, or a radiator core corrodes, the system loses pressure, coolant vaporizes into steam pockets, and the engine overheats rapidly.
A manual cooling system pressure kit reproduces this working pressure on a cold, parked vehicle. Pressurizing while the engine is shut off provides critical garage safety benefits:
- No scalding hazards. Cold coolant eliminates dangerous boiling spray or steam blowback while inspecting connections.
- No moving parts. You can safely inspect lower hoses, water pump pulleys, and belt drives without rotating pulleys or cycling electric cooling fans.
- Visible liquid seeps. Hot engine metal evaporates small coolant drips immediately, but a cold pressure check keeps liquid drops intact and easy to spot.
- Clear diagnosis. If the gauge holds steady, it confirms external static sealing, helping you narrow down intermittent overheating toward flow restrictions, a sticking thermostat, or airflow issues before tearing into major components.
Common cooling system adapters and kit components
| Component | Primary Garage Function | What to Inspect |
|---|---|---|
| Hand pump with gauge | Pressurizes cooling passages manually on cold engines | Dial scale in psi and bar, quick coupler, pressure relief valve |
| Bayonet and threaded adapters | Fastens onto specific radiator necks or plastic expansion tanks | Matching thread pitch, clean finish, pliable rubber O-ring seal |
| Universal rubber adapter | Expands inside non-standard filler openings | Snug seating without cocking sideways in the filler neck |
| Cap check adapter | Connects vehicle radiator cap directly to hand pump | Verifies spring release matches the pressure stamped on the cap |
| Vacuum refill manifold | Evacuates air using shop air to draw fresh coolant in | Airtight hose fittings, shutoff valve, smooth vacuum needle travel |
Kit sizes vary by vehicle coverage. BILITOOLS lists a 28 piece kit with 17 color-coded caps, and Alltooetools specifies a 28 piece kit with 17 dedicated adapters, 1 universal rubber adapter, 3 cap adapters, and 2 connectors. SGT SUPER GARAGE TOOLS provides a 33 piece kit featuring 23 adapters (22 specific adapters plus 1 universal adapter). Choosing an adapter that threads smoothly ensures an airtight seal at the neck.
Step-by-step cooling system pressure check procedure
- Confirm the engine is cold. Never open a hot cooling system. Boiling coolant and trapped steam cause severe burns. Alltooetools includes a probe thermometer operating from 32 to 400 degrees Fahrenheit to check diagnostic fluid temperatures. Before touching the cap, feel the upper radiator hose and radiator tank: if they feel warm or firm with residual pressure, allow the vehicle to cool until the system is completely at ambient garage temperature.
- Check fluid level. Slowly remove the vehicle radiator cap or expansion tank cap. If the system is empty, add coolant mixture or clean water until fluid reaches the filler neck base. Checking an empty system with air alone makes spotting small leaks difficult.
- Install the matching adapter. Match the diameter, bayonet tabs, or thread pitch of your factory cap against the kit adapters. BILITOOLS provides 17 color-coded caps to speed up selection. Thread the adapter onto the neck until its rubber gasket seals firmly.
- Attach the hand pump hose. Pull back the sleeve on the brass quick coupler and push it onto the adapter nipple until it locks. DASBET specifies a 21.2 inch hose, and GallopMax includes a 24 inch hose, providing ample reach above the engine bay.
- Pressurize to factory cap rating. Stroke the pump handle smoothly while observing the dial. DASBET lists a 3 inch dial gauge spanning 0 to 35 psi (0 to 2.5 bar) and recommends pumping to 10 to 15 psi while avoiding excess pressure up to 35 psi. Match the exact pressure stamped on your vehicle cap without exceeding it.
- Observe the pressure gauge. Stop pumping once the needle reaches target pressure. DASBET notes an inspection duration of around 10 minutes. If the needle remains stationary over this period, the system demonstrates solid static pressure integrity.
- Inspect for external leaks if pressure drops. If the needle falls, verify first that the tool adapter is seated tightly and not leaking around its O-ring, then trace the cooling circuit with a bright shop light. Check upper and lower radiator hoses, hose clamp joints, radiator core seams, the thermostat housing, the water pump weep hole, and heater core hoses at the firewall.
- Check radiator cap operation. Detach the pump from the vehicle and connect your radiator cap to the kit cap adapter. Pump slowly until the cap spring releases. The cap must hold pressure up to its stamped rating and vent excess pressure; replace it if it leaks early.
- Relieve pressure before removing tools. Press the manual pressure relief valve button on the coupler to release all air pressure. Confirm the gauge reads 0 psi before uncoupling the hose and removing the adapter.
Over-pressurizing can split aged plastic radiator tanks, rupture heater core tubes, or damage water pump seals. Always check the rating stamped on your vehicle radiator cap and stop pumping once the needle reaches that number.
Use rated jack stands on solid ground, wear eye protection with power and air tools, keep fuel-burning equipment out of a closed garage, and follow the manual for every tool. Read our Safety Disclaimer.
Pressure checking vs vacuum cooling system refilling
Many diagnostic sets combine positive pressure leak detection with negative vacuum refilling tools:
- Positive pressure checking: Builds controlled pressure with a manual hand pump up to the vehicle cap rating (such as the 10 to 15 psi target DASBET notes on its 0 to 35 psi gauge), forcing fluid outward through failing joints so you can spot external drips or detect pressure loss. This operation requires no shop air.
- Negative vacuum refilling: Uses shop air passing through a venturi block to evacuate air from the empty system. SGT SUPER GARAGE TOOLS lists a vacuum gauge range of 0 to 30 inHg, and GallopMax notes drawing the system down to -25 to -20 inHg to prepare for refilling.
- Preventing trapped air pockets: Opening the fluid valve draws fresh coolant in by atmospheric pressure. Fluid fills every internal engine cavity smoothly, greatly reducing trapped air pockets that cause localized hot spots and tedious bleeding.
To compare full kits for your garage, read our guide to the best radiator pressure checker kit or browse our diagnostics and electrical section.
Diagnosing internal cooling leaks when no puddle appears
When the gauge needle drops steadily during a check but no external fluid appears on hoses or the floor, coolant is escaping into the interior of the engine. A breached cylinder head gasket, warped head, or cracked casting allows fluid into the combustion chambers or crankcase.
To verify an internal leak without disassembling the engine, use complementary diagnostic tools:
- Inspect spark plugs: A cylinder burning coolant often displays a white, steam-cleaned insulator compared to normal deposits on other cylinders.
- Inspect motor oil: Pull the dipstick and inspect the filler cap. Coolant entering the crankcase emulsifies oil into a milky, light brown fluid.
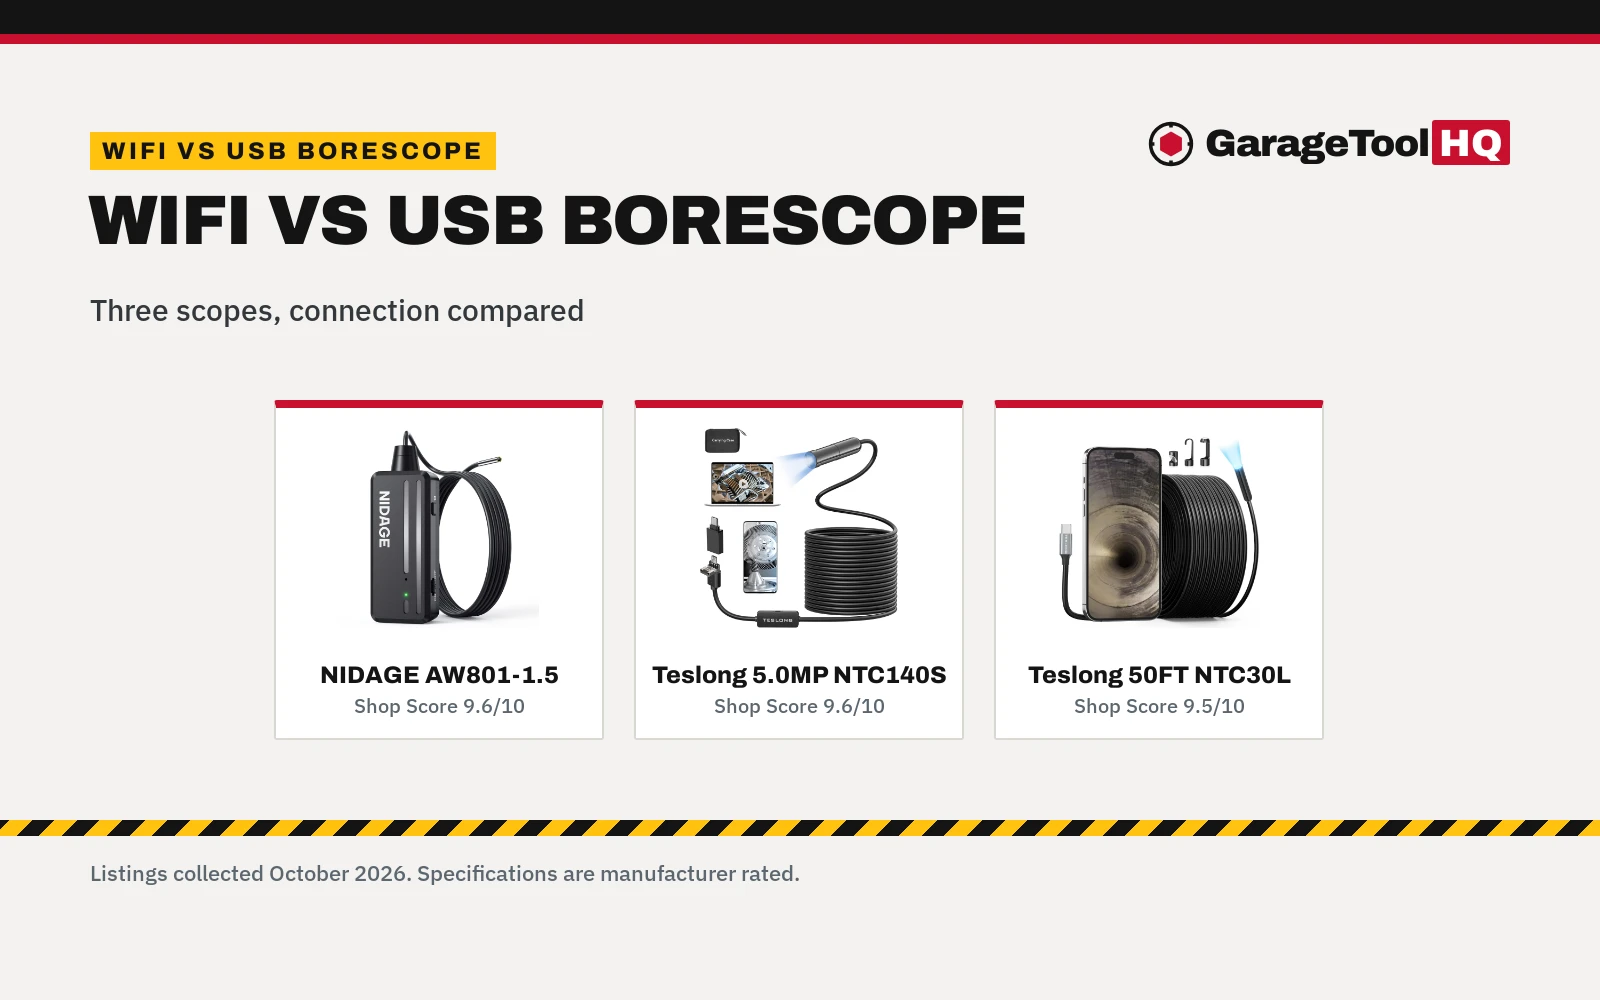
- Examine combustion chambers: Insert an automotive borescope through the spark plug port to check piston tops for pooled coolant droplets while the system remains pressurized.
- Check mechanical sealing: Use an engine compression checker to verify cylinder compression across neighboring cylinders where a head gasket fire ring may have blown.
- Inspect intake runners: An automotive smoke machine introduces low-pressure vapor into intake passages to detect cracked intake manifold coolant crossovers.
Frequently Asked Questions
How much pressure should I pump into a radiator during a pressure check?
Always pump to the specific pressure rating stamped on your vehicle factory radiator cap. DASBET lists a hand pump gauge range of 0 to 35 psi (0 to 2.5 bar) and recommends pumping to 10 to 15 psi while avoiding excess pressure up to 35 psi. Never pump beyond the number stamped on your vehicle cap, as excessive pressure can damage plastic tanks and hose fittings.
Can a radiator pressure check kit detect a blown head gasket?
It can detect many internal head gasket breaches that allow fluid past the fire ring into a cylinder or oil gallery under static pressure. However, some head gasket failures only leak when combustion pressures exceed several hundred psi while running. If a static check holds steady but you still suspect a head gasket, check spark plugs, examine oil for milkiness, or inspect cylinder bores with an automotive borescope.
How long should a cooling system hold pressure during a leak check?
DASBET recommends an inspection duration of around 10 minutes for its hand pump kit. Pump the system to the vehicle cap rating and monitor the gauge needle. A sound cooling system will hold that pressure steady across the 10 minute period. A steady drop in needle position over this timeframe confirms a pressure leak.
Why does the gauge needle drop if there is no visible puddle under the car?
A dropping needle without an external puddle points to an internal head gasket leak, an internal heater core leak where coolant seeps beneath interior carpeting, or an imperfect seal at the adapter neck itself. Check that the adapter rubber O-ring is seated tightly, and inspect cabin carpet near the firewall for dampness or sweet coolant odor.
Do I need an air compressor to use a radiator pressure checker?
No air compressor is needed for pressure checking leaks. The hand pump included in kits like the DASBET 18 piece set operates manually. However, if your kit includes a vacuum purge and refill tool, such as kits from SGT SUPER GARAGE TOOLS or GallopMax, operating the vacuum block to refill coolant requires an air compressor.
Can I check cooling system pressure while the engine is running?
No. Never attach a manual pressure checker hand pump to an engine that is running. Engine vibration, rotating belts, cooling fans, and rapid thermal expansion will distort pressure gauge readings and create severe personal injury hazards. Always perform pressure checks with the engine completely shut off and cool to the touch.
Related: compare cooling system kits in our guide to the best radiator pressure checker kit, explore our diagnostics and electrical hub, check cylinder sealing with an engine compression checker, or inspect tight engine spaces using an automotive borescope.