Tire Pressure Gauge How to Use: A Step-by-Step Garage Guide
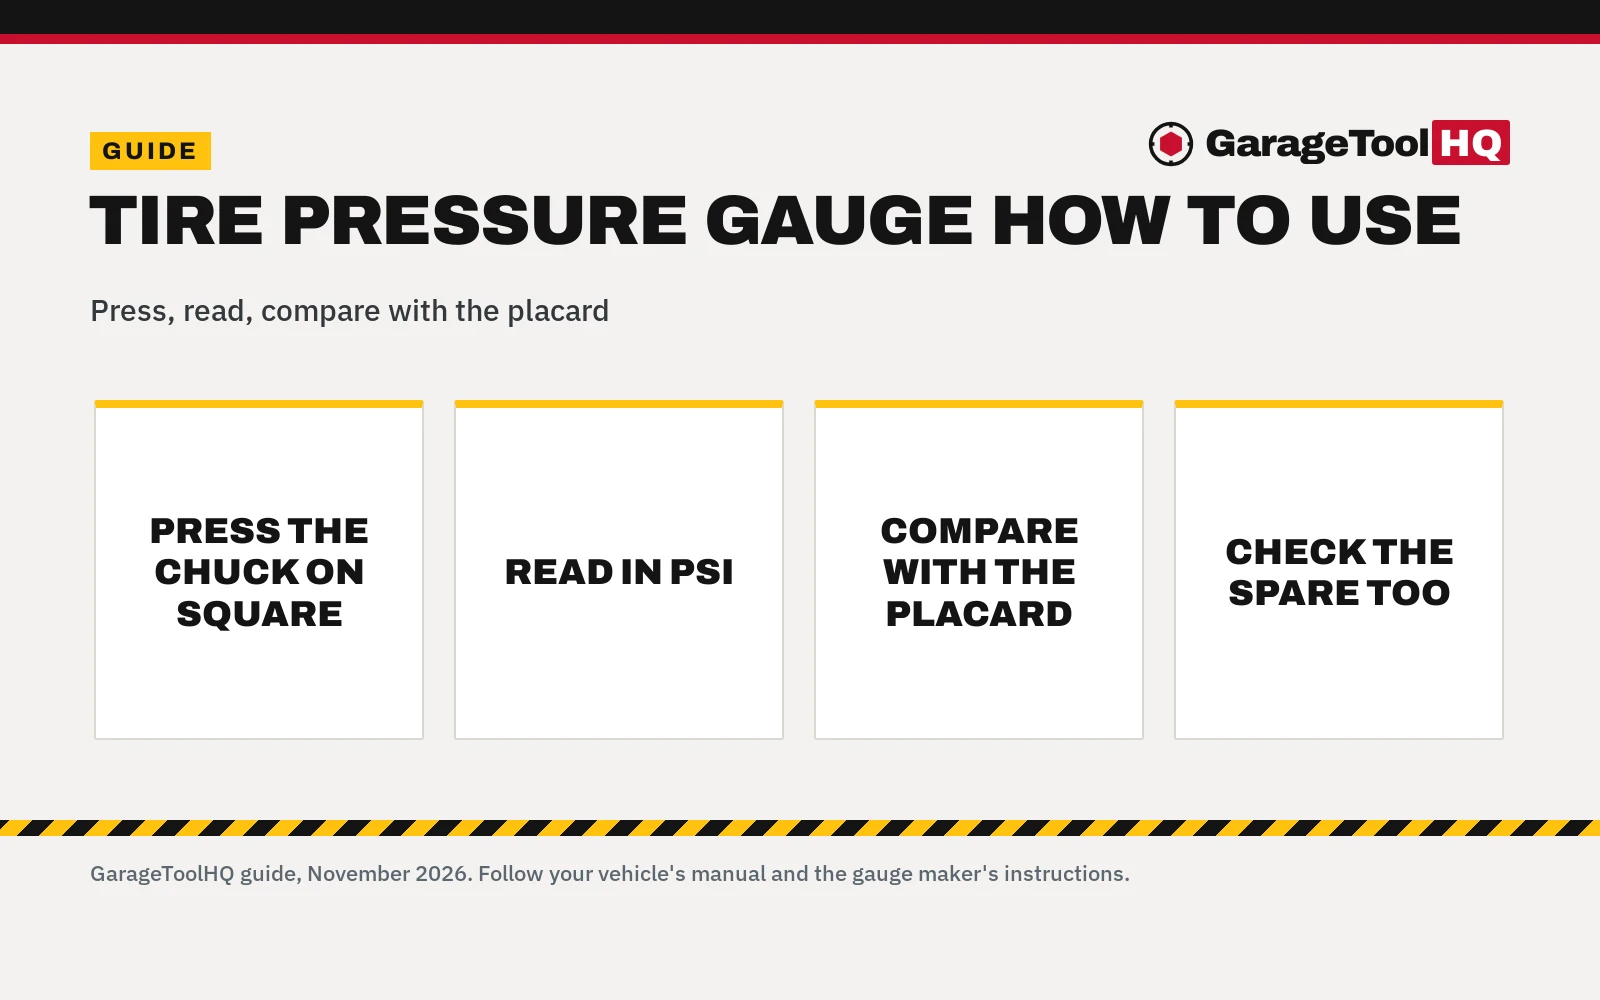
Press the chuck squarely onto the valve stem, read the gauge in PSI, and compare the figure with the pressure on the driver's door jamb placard: the routine, the gauge types, and the mistakes that give a wrong reading.

On this page
A tire can look ready for the road and still be low on air. The sidewall holds its shape, the tread looks fine, and the car drives normally, yet the pressure inside is well below what the car maker calls for. That is the moment a tire pressure gauge earns its place in the glove box. Tire pressure gauge how to use comes down to a short routine: press the chuck squarely onto the valve stem, hold it still until the reading settles, read the number in PSI, and compare it with the pressure listed on the driver’s door jamb placard.
As an Amazon Associate I earn from qualifying purchases. GarageToolHQ earns a commission when you buy through links on our product pages, at no extra cost to you. Read our affiliate disclosure.
Below: the gauge types, what each reading looks like, the step-by-step routine, and the mistakes that give a wrong number.
Tire Pressure Gauge How to Use: What the Reading Means
A tire pressure gauge measures the air pressure inside a tire in pounds per square inch, shortened to PSI. Some gauges also offer Bar or kilopascal readings: the AstroAI digital gauge covers 0-230 PSI, 0-16 Bar and 0-1585 kPa, while the JACO ElitePro digital gauge reads up to 200 PSI. What that number should be comes from the car, not from the gauge: the pressure listed on the driver’s door jamb placard, in the fuel filler door, or in the owner’s manual. The number molded into the tire sidewall is the tire’s maximum, not the pressure the car maker wants for daily driving.
The Types of Tire Pressure Gauge
Garage gauges fall into a few families. Digital gauges put digits on a backlit LCD screen. Dial gauges use a needle on a round face. Pencil gauges, also called stick gauges, push a sliding bar out of the body.
| Type | How it reads | Range in the listings | Notes |
|---|---|---|---|
| Digital | Digits on a backlit LCD screen | 0-230 PSI, 0-16 Bar, 0-1585 kPa; up to 200 PSI | Auto shut-off after 30-40 seconds on the AstroAI, after 150 seconds on the JACO |
| Dial | Needle on a round face | 0-60 PSI | 2-1/2 inch glow-in-the-dark face; holds the reading until released |
| Pencil, also called stick | Sliding bar with a printed scale | 10-160 PSI in 2 lb. increments; 10-150 PSI in 2 psi increments | No battery needed; dual head chuck; the GODESON comes as a pack of 2 |
Range matters more than style. A gauge must cover the pressure on the placard: the Longacre dial reads 0-60 PSI, while the AstroAI reaches 0-230 PSI and the JACO reads up to 200 PSI.
How to Use a Tire Pressure Gauge, Step by Step
Work through the tires in order: cap off, reading taken, cap back on.
- Check the tires while they are cold. Pressure rises as tires warm up from driving, so the truest reading comes before the car has been driven far.
- Find the pressure the car maker calls for. Look on the driver’s door jamb placard, inside the fuel filler door, or in the owner’s manual.
- Take the valve cap off. Unscrew the small cap on the valve stem and set it where it will not roll away.
- Press the chuck squarely onto the valve stem. Push straight on until the hiss of escaping air stops. A hiss that keeps going means the chuck is crooked or not seated.
- Hold still and read. On a digital gauge the digits show the reading; the JACO holds the reading until the ON button is pressed to reset to zero. On a dial gauge the needle settles; the Longacre holds the reading until released. On a pencil gauge the bar slides out and stops; read where the bar meets the edge of the body.
- Compare with the placard figure. If the reading is below the placard figure, add air with an inflator or a compressor until the gauge shows the placard figure. If it is above, let air out in short bursts, using the bleeder valve or release button if the gauge has one, then read again.
- Put the valve cap back on. Screw it on finger-tight, then move to the next tire, including the spare.
Pressure climbs as a tire warms up from driving. A reading taken on a warm tire looks higher than the cold pressure the placard lists, which can hide a tire that is low. Check before driving, or after the car has sat parked.
Use rated jack stands on solid ground, wear eye protection with power and air tools, keep fuel-burning equipment out of a closed garage, and follow the manual for every tool. Read our Safety Disclaimer.
How to Read a Tire Air Pressure Gauge
A digital gauge leaves little room for doubt: the AstroAI reads in 0.1 increments, and the JACO shows a resolution of 0.10 PSI. The unit button switches between PSI, Bar and kPa on gauges that offer several units; make sure the screen shows PSI before comparing with the placard.
A dial gauge reads like a clock face with a needle. The Longacre dial has a 2-1/2 inch glow-in-the-dark face and holds the reading until released. A pencil gauge reads from the bar that slides out of the body: the Milton bar is marked in 2 lb. increments from 10 to 160 PSI, and the GODESON bar in 2 psi increments from 10 to 150 PSI. Read the mark where the bar leaves the body.
Digital, Dial or Pencil: Which Gauge Fits the Job
For a daily driver, any of the types above does the job, and the choice comes down to reading comfort and range. A digital gauge suits dim light: the AstroAI pairs a green backlit LCD with a flashlight, and the JACO has a 2.5 inch LCD screen with a bright LED backlight. A dial gauge suits a reader who likes a needle and a face that holds still. A pencil gauge suits a glove box or a toolbox drawer: no battery, no screen, and a dual head chuck that reaches inner wheels on trucks with dual rear wheels.
For trucks, RVs and trailers, range decides. The AstroAI covers 0-230 PSI, the JACO reads up to 200 PSI, and the Milton covers 10-160 PSI, while the Longacre dial tops out at 0-60 PSI. A gauge that tops out below the placard figure cannot read the tire at all. The Milton dual head chuck and the GODESON straight foot chuck are made for the inner wheels of dual setups, while the GODESON 30-degree reverse chuck is for the outer wheels.
Mistakes That Give a Wrong Reading
- Reading warm tires. Driving warms tires and lifts the pressure, so a warm reading hides a low tire. Check cold.
- Pressing the chuck on at an angle. A crooked chuck hisses and leaks air, and the gauge reads low. Push straight on until the hiss stops.
- Reading the wrong unit. Bar and kPa figures look nothing like PSI figures. Set the gauge to PSI before comparing.
- Using the sidewall number. The pressure molded into the tire sidewall is the tire’s maximum, not the pressure the car maker lists. Use the placard.
- Skipping the spare. The spare loses air while it sits, and a flat spare is no help on the roadside. Check it with the same routine.
- Forgetting the valve cap. The cap keeps dirt out of the valve. Screw it back on after every check.
FAQ: garage tools
How do I read a tire air pressure gauge?
Press the chuck squarely onto the valve stem and hold it until the reading settles. On a digital gauge, read the digits; on a dial gauge, read where the needle points; on a pencil gauge, read the mark where the sliding bar leaves the body. Compare the figure with the pressure on the driver’s door jamb placard.
What pressure should my tires be?
The pressure listed on the driver’s door jamb placard, in the fuel filler door, or in the owner’s manual. That figure is set for the car, and it is the figure to compare every reading against.
Can I check tire pressure when the tires are warm?
A warm reading runs high, because driving warms tires and lifts the pressure inside. Check before driving, or after the car has sat parked.
Why does my gauge hiss when I press it onto the valve?
Air is leaking past the chuck because it is not seated squarely on the valve stem. Pull it off, line it up straight, and press firmly until the hiss stops.
Do I need a different gauge for a truck or an RV?
Check the range. A gauge that reads 0-60 PSI cannot cover a tire whose placard figure is above 60 PSI, while the AstroAI covers 0-230 PSI, the JACO reads up to 200 PSI, and the Milton covers 10-160 PSI. Match the gauge to the pressure on the placard, and look for a dual head chuck for inner wheels on dual setups.
How do I add air after a low reading?
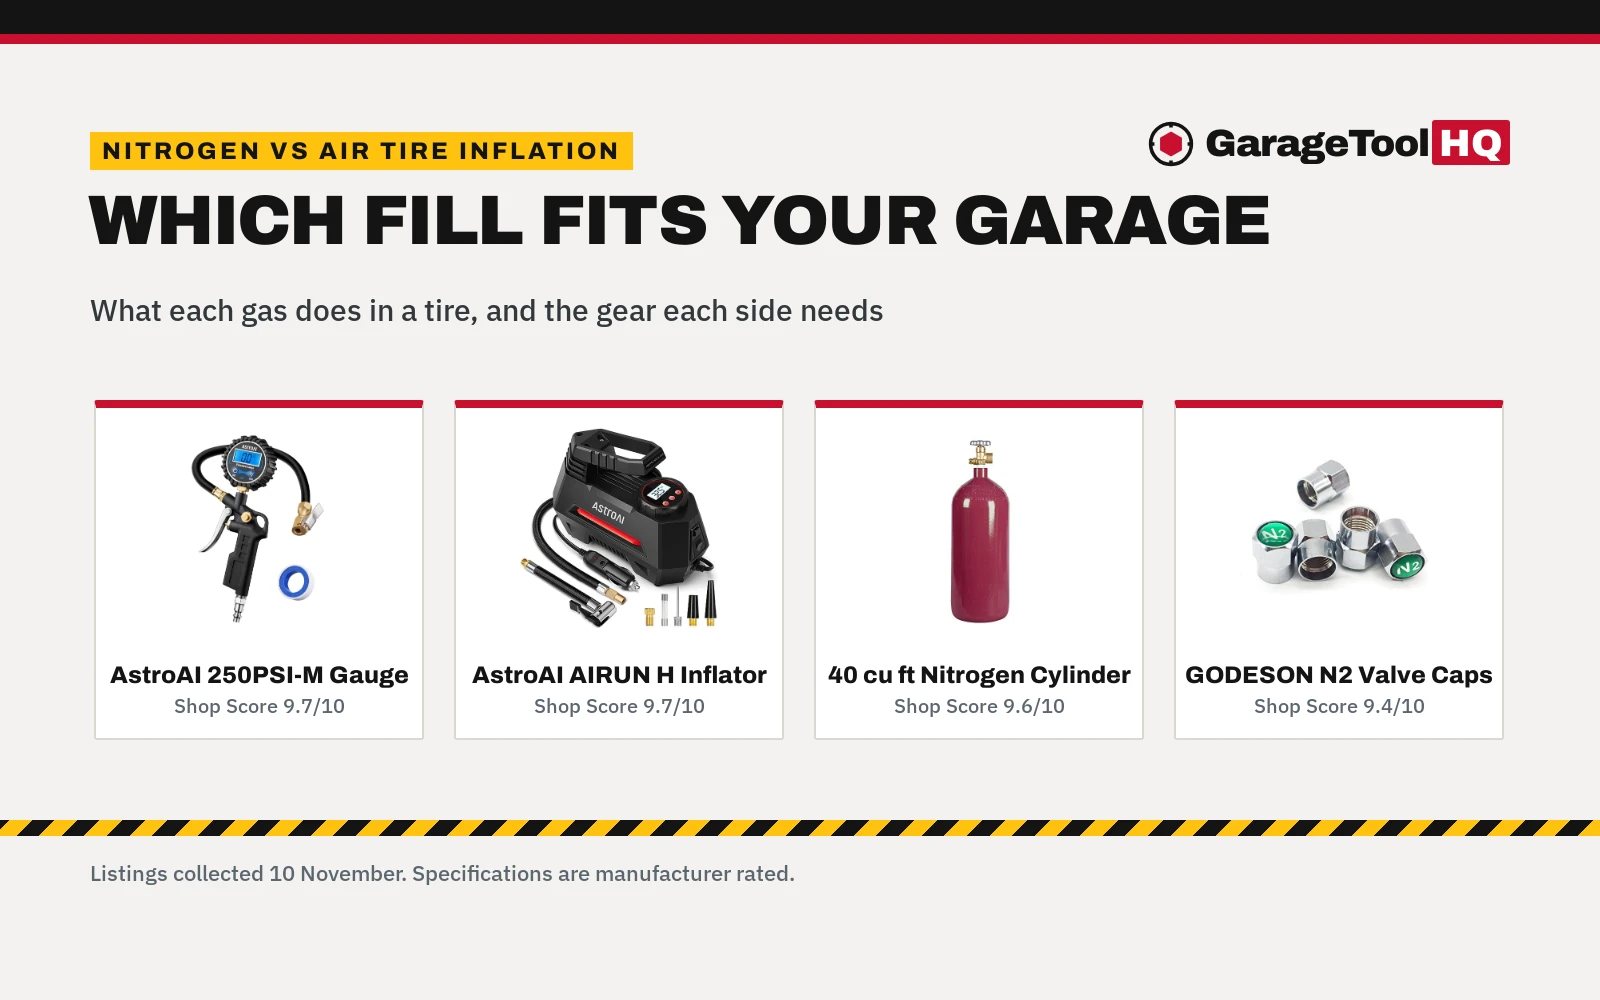
Use a compressor or an inflator, add air in short bursts, and read the gauge again after each burst until the placard figure shows. A cordless tire inflator works for top-ups at home, and the air compressors hub covers larger garage setups.
Related: manual tire pressure gauge guide, tire pressure gauge vs tire inflator, the cordless tire inflator picks and the air compressors hub.