How to Remove a Drum Brake: Step-by-Step Guide
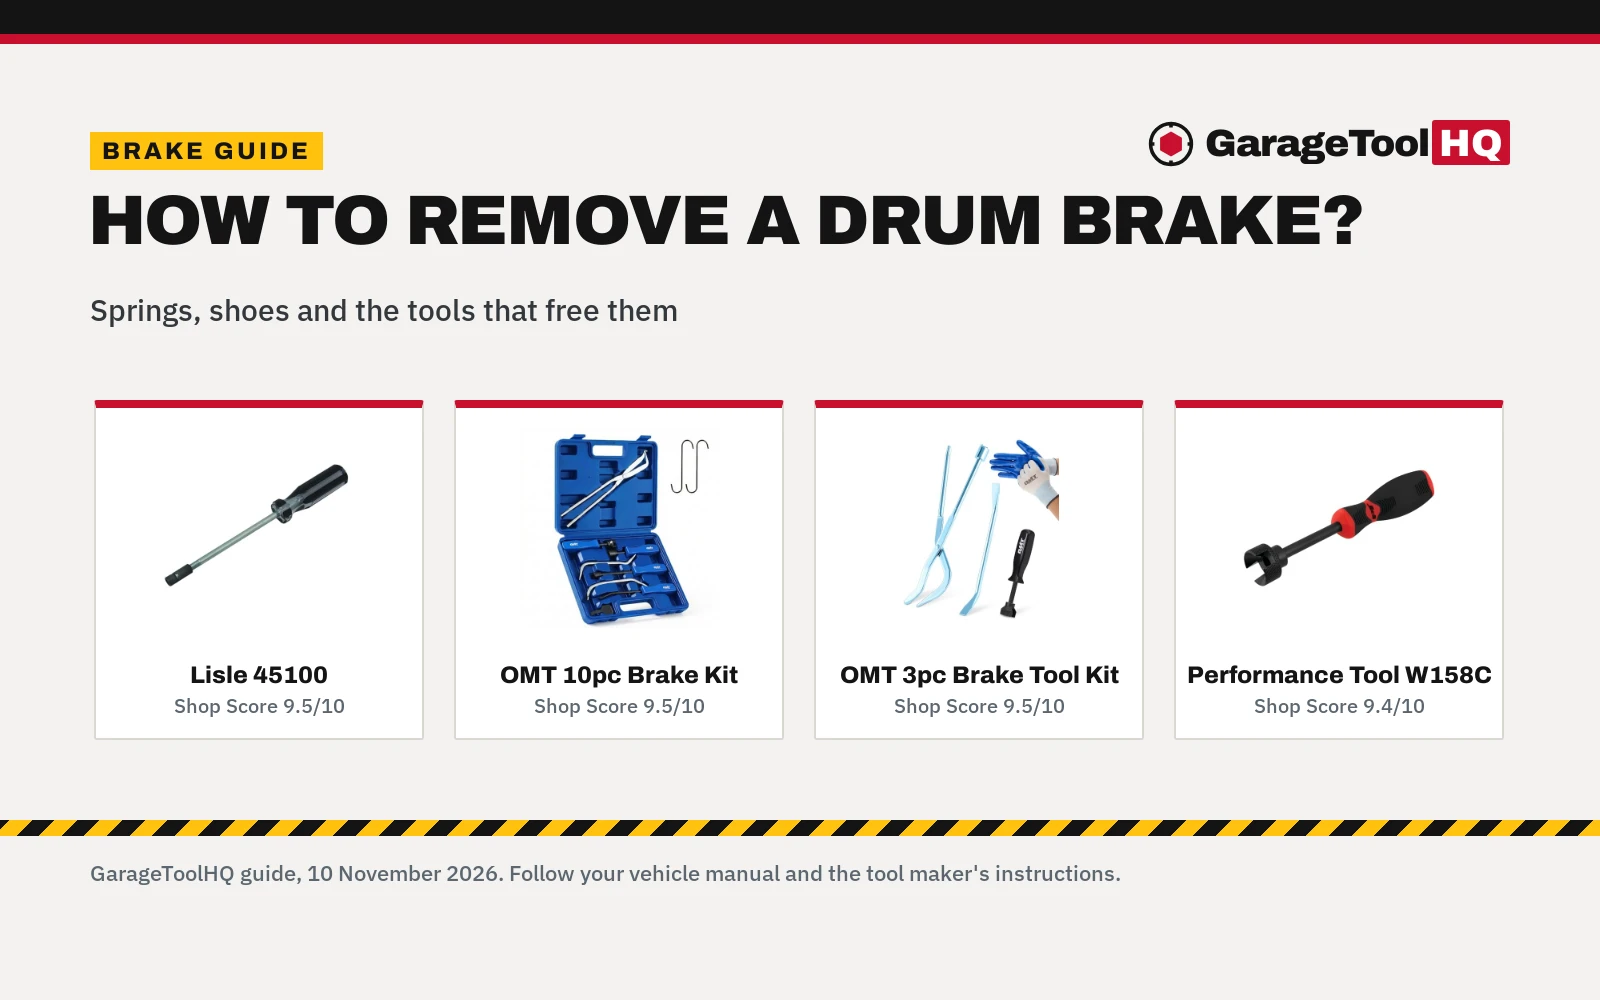
How to remove a drum brake: lift the car onto stands, back the adjuster off, pull the drum, release the hold-down springs, unhook the return springs, and lift the shoes away, with four spring tools and kits for each step.

On this page
A rear wheel drags on the drive home, and the brake drum on that corner has not been off in years. The shoes, springs and adjuster inside are small parts, and the springs hold tension, so the job goes smoothly only when each one comes off in the right order. Learning how to remove a drum brake means working through those parts one by one: lift the car onto stands, back the adjuster off, pull the drum, release the hold-down springs, then unhook the return springs and lift the shoes away. This guide walks through that order and the tools that handle each step.
As an Amazon Associate I earn from qualifying purchases. GarageToolHQ earns a commission when you buy through links on our product pages, at no extra cost to you. Read our affiliate disclosure.
Below: the removal order, what makes a drum stick, and four spring tools and kits for the job.

Lisle 45100 Brake Spring Tool
A brake spring tool that locks onto the spring with a turn of its handle, then expands the spring to install or remove it.
Pros
- Locks onto the spring with a turn of the handle
- Expands the spring to install or remove it
- Limited lifetime warranty stated
- Weighs only 0.05 lb
Cons
- Single-purpose tool, no pliers or spoons included
- No stated material or finish
- No stated spring size range
- No case or storage stated
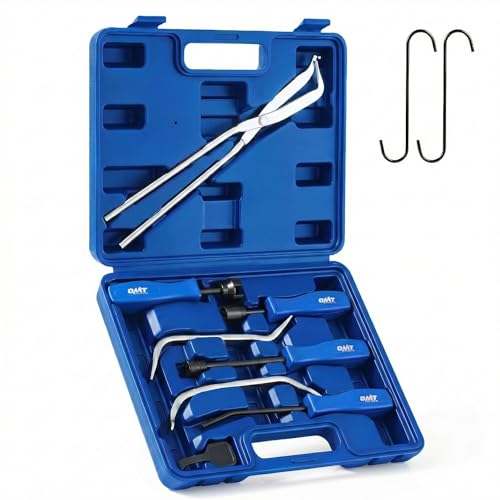
OMT 10pc Drum Brake Tool Kit with Spring Pliers
A 10-piece drum brake tool kit with spring pliers, installers, removers, compressors, retainers, hooks and adjusting spoons in a blow-molded case.
Pros
- 10 pieces cover pliers, installers, removers and spoons
- 4 spring tools with reinforced ergonomic handles
- Blow-molded case keeps the set organized
- Fits hundreds of domestic and import makes and models
Cons
- Title states 1045 steel while bullets state 45# steel
- Only a 1 year warranty is stated
- No stated weight for the kit
- No stated spring size range

OMT 3pc Drum Brake Tool Kit with Spring Compressor
A 3-piece drum brake tool kit with a spring tool, an adjusting spoon, dual-ended spring pliers with a 9 inch jaw opening, and two gloves.
Pros
- Dual-ended pliers with a 9 inch jaw opening
- Fluted socket spoon grips washers up to 7/8 inch
- Two gloves included in the set
- Zinc-plated spoon and pliers resist corrosion, wear and tear
Cons
- Only a 1 year warranty is stated
- No stated weight in a clean figure
- 3 tools cover fewer jobs than the 10-piece kit
- No stated case or storage

Performance Tool W158C Drum Brake Spring
A drum brake spring compressor for 11/16 to 7/8 inch retaining springs, with a heat-resistant handle and a low-profile shaft.
Pros
- Fits 11/16 to 7/8 inch retaining springs
- Heat-resistant handle with a comfortable grip
- Grips cups and pins for precise removal
- Low-profile shaft clears confined spaces
Cons
- No concrete warranty term is stated
- Single-purpose tool, no pliers or spoons included
- No stated case or storage
- No stated finish or coating
How to Remove a Drum Brake: The Steps in Order
Work on level ground with the wheels chocked and the parking brake off. Loosen the lug nuts while the wheel is still on the ground, then lift that corner with a jack and set rated stands on solid level ground. Never get under a vehicle on a jack alone. Take the wheel off and look through the backing plate slot for the adjuster.
- Back the adjuster off. Turn the star wheel with an adjusting spoon until the shoes pull away from the drum. A drum that will not move is usually held by shoes pressed against a worn lip inside the drum, and backing the adjuster off frees them.
- Pull the drum. Work the drum straight off the hub. If it sticks, tap the drum face with a mallet and rotate it as you pull. Do not pry against the backing plate.
- Release the hold-down springs. Press the spring compressor over each hold-down cup, turn it to free the pin, and lift the cup and spring away. The Performance Tool W158C fits retaining springs from 11/16 to 7/8 inch.
- Unhook the return springs. Use spring pliers to unhook each return spring from its anchor, or lock the Lisle 45100 onto the spring with a turn of its handle and expand it to free it, keeping a hand on each spring as it comes free so it cannot snap across the garage.
- Lift the shoes away. Ease the shoes off the backing plate together with the adjuster and the parking brake lever. Lay the parts out in the order they came off, and leave the other side assembled as a reference.
What Makes a Drum Brake Stick
A drum usually sticks for one of three reasons, and each one points at a different step. Shoes worn into a lip inside the drum catch on that lip, so the adjuster has to come back before the drum moves. Rust on the hub face holds the drum to the hub, so tapping the drum face while rotating it breaks that bond. A parking brake left on holds the shoes against the drum, so release it before pulling the wheel. When the drum still will not move after the adjuster is backed off and the face is tapped, stop and check the vehicle manual rather than forcing the drum.
How to Remove a Drum Brake: Tools for the Job
The springs are the step that needs the gear below: hold-down springs need a compressor that grips the cup, return springs need pliers or a spring tool that locks on and pulls without slipping, and the adjuster needs a spoon that works through the backing plate slot.
Use rated jack stands on solid ground, wear eye protection with power and air tools, keep fuel-burning equipment out of a closed garage, and follow the manual for every tool. Read our Safety Disclaimer.
FAQ: garage tools
Can I remove a drum brake without a spring tool?
Pliers can unhook a return spring, but a spring compressor grips the hold-down cup and pin so the cup turns free without slipping, while the Lisle 45100 locks onto a return spring with a turn of its handle. The right tool keeps a spring under tension from snapping across the garage, so use the compressor for the hold-down springs even when the return springs come off with pliers.
What size are drum brake retaining springs?
The Performance Tool W158C fits retaining springs from 11/16 to 7/8 inch. Measure the springs and cups on the vehicle before ordering, since other brakes use different sizes.
Why will my brake drum not come off?
Back the adjuster off first, since shoes pressed against a worn lip inside the drum hold it in place. Rust on the hub face also holds the drum, so tap the drum face with a mallet and rotate it as you pull. Check that the parking brake is released, and check the vehicle manual if the drum still will not move.
Do I need to replace the springs when I remove a drum brake?
Look at the springs and hardware while the drum is off: a stretched, rusted or bent spring has no place back in the brake. The kits here carry the tools to fit new springs; check the vehicle manual for which parts to renew with the shoes. Keep the old parts until the new ones are fitted, so the layout stays clear.
How do I keep the brake hardware in order?
Lay each part out in the order it came off, and work on one side at a time so the other side stays assembled as a reference. The blow-molded case of the OMT 10-piece kit keeps the tools in order between jobs, and the same habit with the brake parts keeps the rebuild free of guesswork.
Related: the engine and shop equipment hub, the picks for the best tools for changing brakes, the best brake spring tools for drum brakes, and the guide to how to check brake fluid.