Air Compressor Check Valve Repair Steps
When a compressor tank will not hold air, a worn check valve is often the cause: this guide covers the signs, the repair steps, and the replacement valves that fit.

On this page
When the compressor runs and the tank never seems to hold air, or the motor strains each time it starts again, a worn check valve is often the cause. Air compressor check valve repair means finding the valve between the pump discharge line and the tank, checking whether it still seals, and cleaning or replacing it so air flows into the tank and stays there.
As an Amazon Associate I earn from qualifying purchases. GarageToolHQ earns a commission when you buy through links on our product pages, at no extra cost to you. Read our affiliate disclosure.
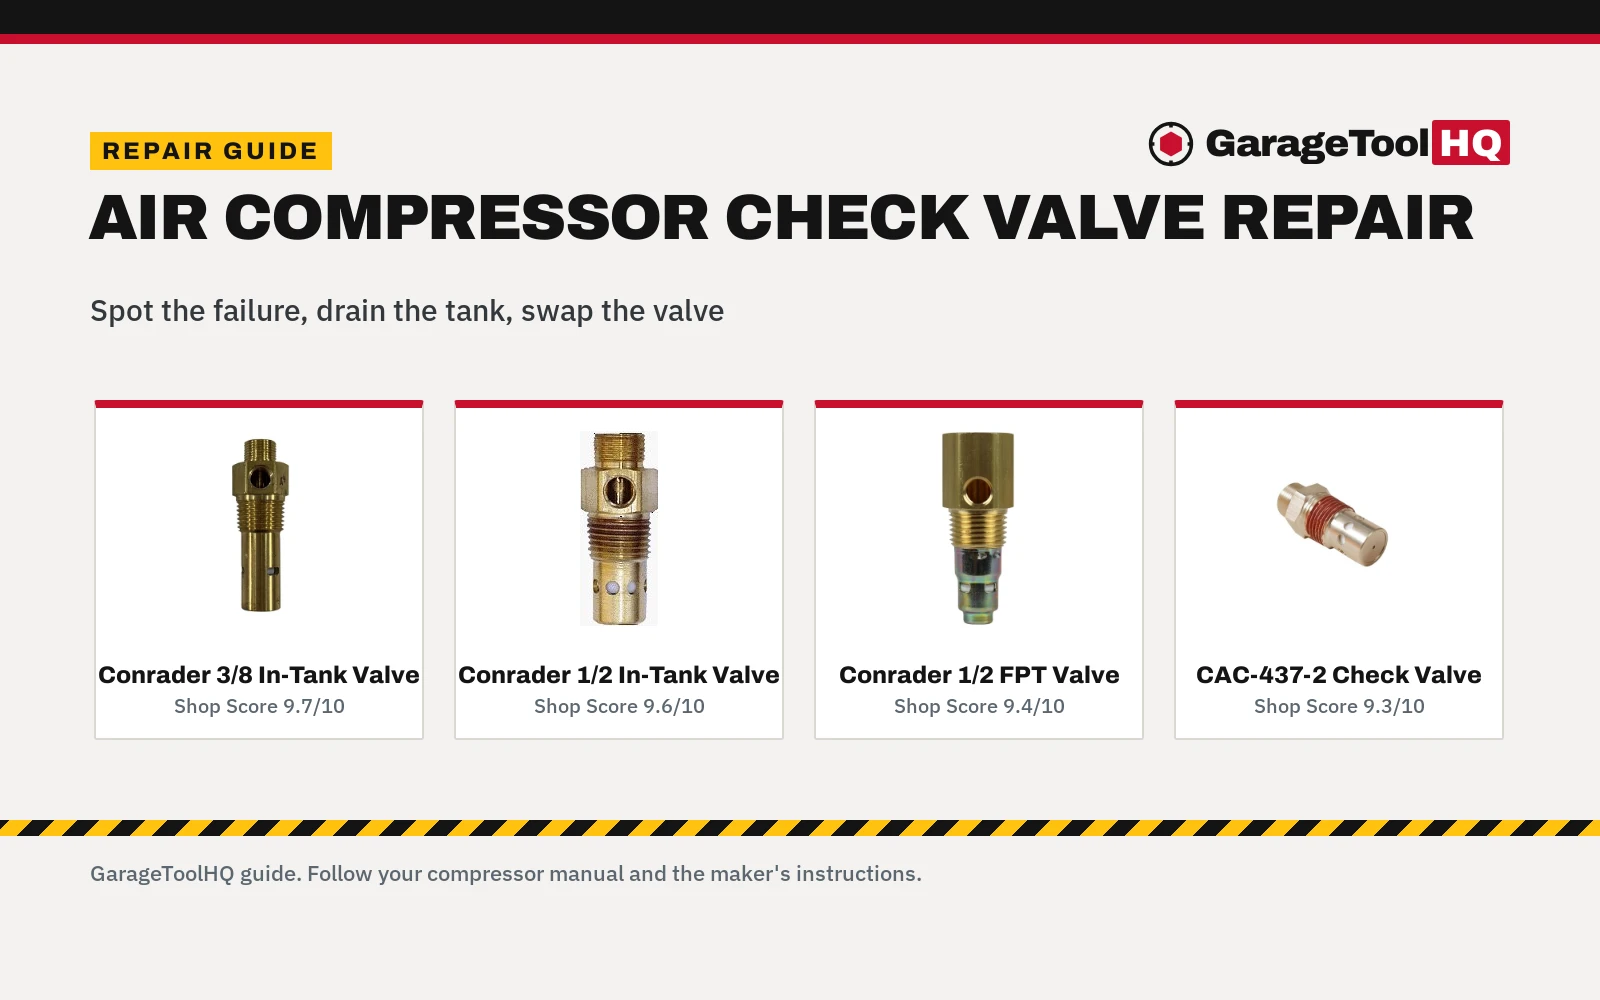
Below: what the valve does, how the four valves differ, the repair steps, and the replacement valves.

Conrader In Tank Check Valve for Air Compressors
An all-brass, USA-made in-tank check valve with a 3/8-inch compression top inlet and a 1/2-inch male NPT bottom outlet, rated at 500 PSI and 20 CFM, sealing the pump discharge line against the tank.
Pros
- 500 PSI max pressure, 20 CFM flow rate
- All-brass body, reinforced PTFE seal
- Compression nut and ferrule included
- Optional 1/8-inch unloader plug included
Cons
- No warranty term stated
- No body dimensions or weight stated
- 3/8-inch inlet fits only 3/8-inch OD tubing
- Single valve in the pack, no spare included

New In tank Check valve for air compressor 1/2"
A brass in-tank check valve with a 1/2-inch compression top inlet and a 1/2-inch male NPT outlet, rated at 450 PSI and 20 SCFM, with a 1/8-inch unloader port, holding tank air from flowing back to the pump.
Pros
- 450 PSI max pressure, 20 SCFM flow rate
- 1/2-inch compression inlet, 1/2-inch male NPT outlet
- 1/8-inch unloader port included
- Brass body, made in the USA
Cons
- No warranty term stated
- No seal material stated
- No compression nut or ferrule mentioned
- Single valve in the pack, no spare included

New In tank Check valve for air compressor 1/2"
A brass in-tank check valve with a 1/2-inch female NPT inlet and a 1/2-inch male NPT outlet, with a 1/8-inch female NPT side unloader port, for pump lines that end in a female thread.
Pros
- 1/2-inch female NPT inlet, 1/2-inch male NPT outlet
- 1/8-inch female NPT side unloader port
- Thread diameters stated for each port
- Brass construction
Cons
- No max pressure stated
- No flow rate stated
- No warranty term stated
- No seal material stated

CAC-437-2 Brass Air Compressor Check Valve
A brass check valve with a 1/2-inch NPT tank thread and a 1/2-inch compression tube fitting, listed for IRL6560V and 5E60VAD 5HP units, with no unloader-side bypass hole, for units with no unloader line.
Pros
- 1/2-inch NPT tank thread, 1/2-inch compression tube fitting
- Listed for IRL6560V and 5E60VAD 5HP units
- Brass body that comes apart for cleaning or repair
- Direct replacement fit
Cons
- No max pressure stated
- No flow rate stated
- No warranty term stated
- No unloader-side bypass hole, not an unloader check valve kit
Air compressor check valve repair: what the valve does and why it fails
The check valve sits where the discharge line from the pump meets the tank. It lets air flow into the tank while the pump runs, then closes so tank air cannot flow back toward the pump. When the seal inside wears, or debris holds the valve open, air leaks back through the pump line and the tank loses pressure while the compressor sits idle.
Look for these signs before taking anything apart:
- Air that keeps hissing from the pump line after the motor stops. A short hiss right as the motor stops is normal: the unloader vents the discharge line. A hiss that keeps going means tank air is leaking back through a valve that no longer seals.
- Tank pressure dropping while the compressor sits unused. A slow leak back through the valve is a common cause.
- The motor struggling to restart. Tank pressure pushing back through a failed valve loads the motor at start.
Four in-tank check valves, and how they differ
The valves in this guide are all brass in-tank check valves, and the choice comes down to thread sizes, the unloader port, and the stated pressure and flow ratings.
| Valve | Inlet | Outlet | Unloader port | Max pressure |
|---|---|---|---|---|
| Conrader 3/8 In-Tank Valve | 3/8″ compression | 1/2″ male NPT | 1/8″ plug included | 500 PSI |
| Conrader 1/2 In-Tank Valve | 1/2″ compression | 1/2″ male NPT | 1/8″ port | 450 PSI |
| Conrader 1/2 FPT Valve | 1/2″ female NPT | 1/2″ male NPT | 1/8″ female NPT | Not stated |
| CAC-437-2 Check Valve | 1/2″ compression | 1/2″ NPT | None | Not stated |
Match the replacement to the valve you remove: inlet to the discharge tube, outlet to the tank thread, and unloader port to the unloader line, if your compressor has one.
How to repair an air compressor check valve
Work through the steps in order. If the job involves wiring, use a licensed electrician.
- Disconnect the power. Unplug the compressor so the motor cannot start while you work.
- Drain the tank. Open the tank drain valve and let the air out until the tank holds no pressure.
- Remove the discharge tube. Loosen the fitting where the tube meets the top of the check valve and set the tube aside.
- Remove the unloader line, if your compressor has one. Loosen the line at the unloader port and keep its fitting with it.
- Unscrew the valve from the tank. Turn the valve out of the tank thread and keep it to compare with the replacement.
- Inspect the old valve. Look for debris, a worn seal, or a disc that sticks. Clean out debris and check whether the valve seals again; a worn seal means replacement.
- Fit the replacement. Thread the new valve into the tank, reconnect the discharge tube, and reconnect or plug the unloader port to match your compressor.
- Close the drain, restore power, and listen. Close the tank drain, plug the compressor back in, and listen at the valve once the motor stops: a short hiss is the unloader venting the discharge line, but air that keeps escaping means the valve still leaks.
Drain the tank fully before loosening any fitting: tank air under pressure can throw parts, and a valve removed from a live tank will vent hard.
Drain the tank after use so water does not rust it from the inside, never exceed the tool's rated pressure, wear eye protection, and run 240V units on the circuit the manual calls for. Do not run a gas engine compressor in a closed garage. Read our Safety Disclaimer.
Check valve repair gear: the valves for the job
The valves below cover the repair: each one seals the discharge line against the tank, so match its threads and unloader port to the valve you removed.
FAQ: garage tools
How do I know my air compressor check valve has failed?
Air that keeps hissing from the pump line well after the motor stops, tank pressure dropping while the compressor sits idle, and a motor that struggles to restart all point to a valve that no longer seals. Confirm the leak at the valve first.
Can I clean a check valve instead of replacing it?
Debris in the valve can sometimes be cleaned out, and a sticking valve may seal again once it is gone. A worn seal or a damaged disc will not come back with cleaning, so replacement is the fix then.
What size check valve does my air compressor need?
Match the inlet to the discharge tube and the outlet to the tank thread, using the old valve as the guide. The listings here state thread sizes such as 3/8-inch compression and 1/2-inch male NPT. For more on sizing, see the guide to how to choose an air compressor and the best air compressors hub.
Does a check valve need an unloader port?
It depends on the compressor. Some compressors run an unloader line to the valve, and those need a valve with a matching port. Compressors without an unloader line can use a valve with the port plugged, or a valve with no port, such as the CAC-437-2 here.
Related: the best one way check valve for air compressor, the best auto drain valve for air compressor, the why an air compressor is not building pressure guide, and the best air compressor filter.