How to Use a 2 Post Lift: Setup, Spotting and Safety Guide
A complete operational guide on how to use a 2 post lift safely: vehicle spotting, swing arm positioning, mechanical lock engagement, and balance checks.

On this page
Top picks at a glance
As an Amazon Associate we earn from qualifying purchases.
- 1
 APlusLift HW-8S 8000LB 4-Post Storage Service Car Lift 3 Year9.6/10View on Amazon
- 2
 XK 2 Post Auto Car Lift 9000 lb Capacity Truck Hoist 220V9.6/10View on Amazon
- 3
 KATOOL 12000 lbs Extra Height 167inch 2 Post Lift Two Post9.6/10View on Amazon
- 4
 2 Post Lift 11000lbs Two Post Lift Auto Lift Car Lift HoistView on Amazon
- 5
 XK 2 Post Auto Car Lift 10000 lb Capacity Truck Clear FloorView on Amazon
- 6
 ME 11000lbs Double S Design 2 Post Lift Car Lift AutomotiveView on Amazon
- 7
 12000 Lbs 4.0HP Two Post Lift Single Lock Release Auto LiftView on Amazon
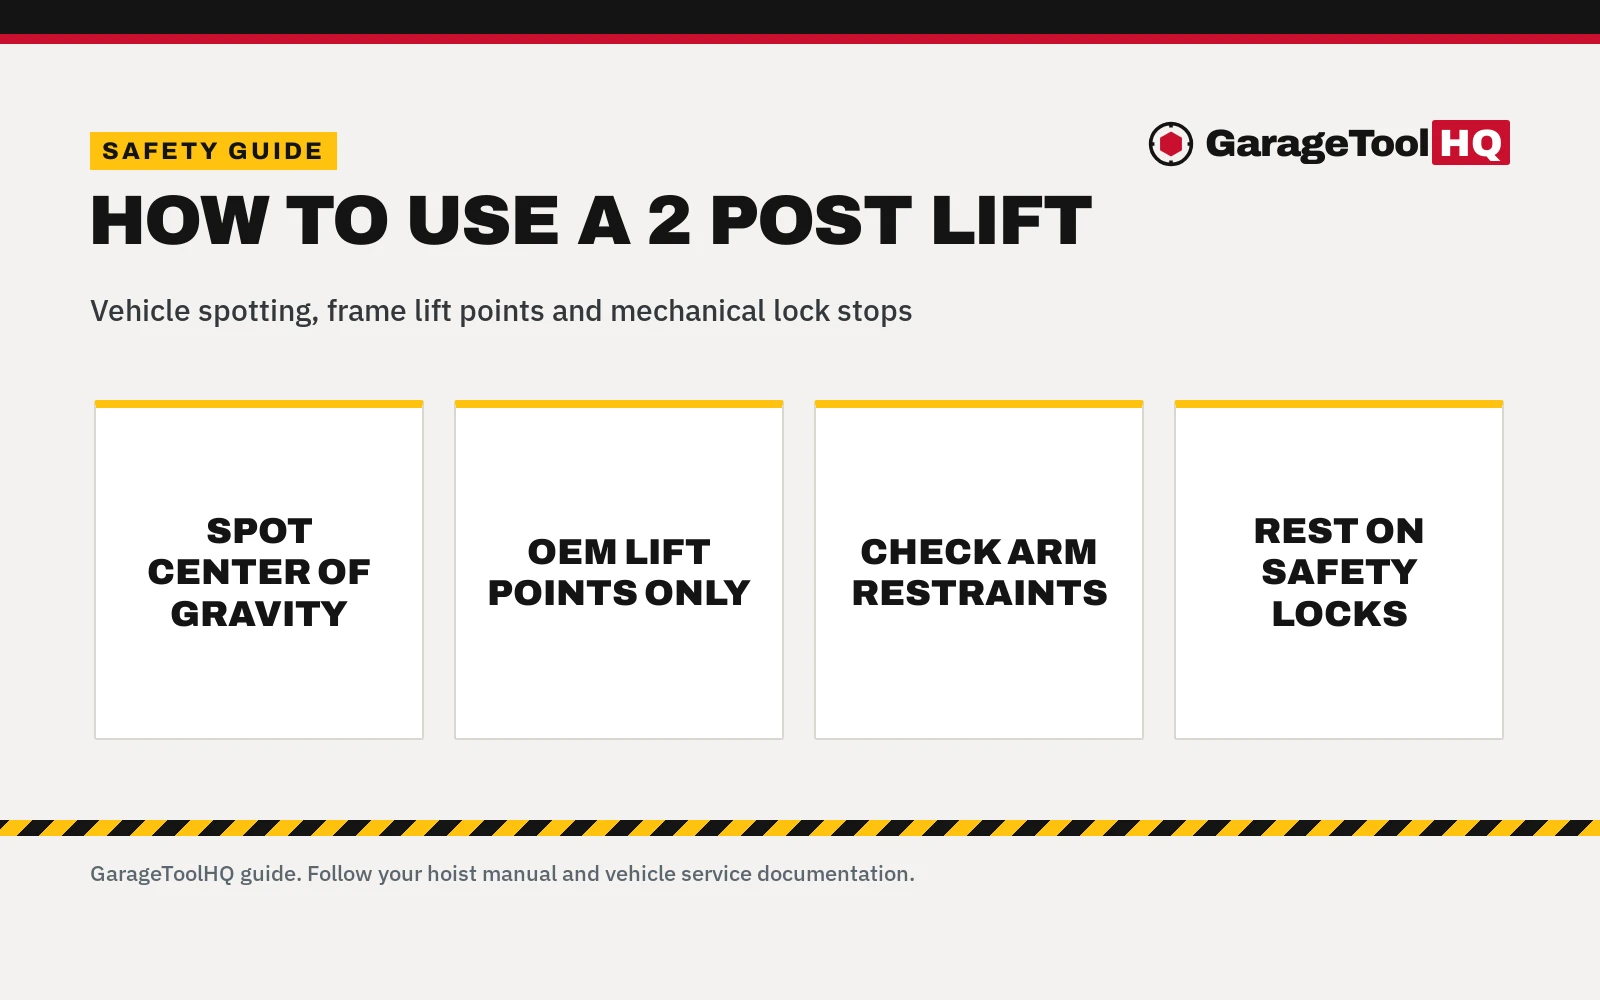
To understand how to use a 2 post lift, position the vehicle so its center of gravity aligns according to the manufacturer’s spotting guidelines, swing the lift arms underneath to engage designated frame points, and raise the hoist until the tires clear the floor to check stability. Once balance is confirmed, elevate the carriage to working height and lower it onto the mechanical safety lock latches before beginning work. Never rely on hydraulic pressure alone to support an elevated vehicle.
More options to compare
 2 Post Lift 11000lbs Two Post Lift Auto Lift Car Lift HoistCheck price on Amazon
 XK 2 Post Auto Car Lift 10000 lb Capacity Truck Clear FloorCheck price on Amazon
 ME 11000lbs Double S Design 2 Post Lift Car Lift AutomotiveCheck price on Amazon
 12000 Lbs 4.0HP Two Post Lift Single Lock Release Auto LiftCheck price on Amazon
GarageToolHQ earns a commission when you buy through links on our product pages, at no extra cost to you. Read our affiliate disclosure.
Below: safety rules, clear-floor vs base-plate designs, a step-by-step operating checklist, and foundation requirements.
How to use a 2 post lift: core safety principles and bay prep
Operating a vehicle hoist safely requires strict preparation before entering the service bay. As a foundational shop rule, never get under a vehicle on a jack alone. While floor jacks lift a car, they depend on hydraulic seals that can fail abruptly. In traditional floor work, vehicles must be supported on rated stands on solid level ground. A 2-post lift provides rigid overhead mechanical support when operated according to established procedures.
Before driving onto the lift area, clear the floor of tools, air hoses, oil drain pans, and cords. Inspect the hoist carriages, hydraulic hoses, and lift pads, ensuring the bay floor is clean and dry.
Always locate the vehicle owner’s manual lift points. Vehicle manufacturers engineer reinforced frame sections, unibody pinch welds, or boxed subframe junctions designed to carry the vehicle’s curb weight. Lifting on unsupported floor pans, outer rocker sheet metal, steering components, or suspension linkages can crush metal, rupture lines, or cause the vehicle to slide off the lift pads.
Check the mechanical arm restraints before loading. When the lift arms lower completely to the floor, restraint gears disengage so the arms swing freely. As carriages rise, internal spring-loaded gear teeth engage automatically, locking the arms in place to prevent horizontal shifting under load.
Clear-floor vs base-plate 2-post lifts: understanding shop configurations
| Design configuration | Cable and hydraulic routing | Garage fit and floor access |
|---|---|---|
| Clear-floor 2-post lift | Hydraulic hoses and equalization cables run overhead through a top crossbeam | Requires tall ceiling height, leaving the floor open for transmission jacks and oil drain caddies |
| Base-plate 2-post lift | Hydraulic lines and equalization cables run across the floor under a beveled cover plate | Fits standard garage ceilings, but the floor plate creates a low ridge between columns |
| Extra-height 2-post lift | Elongated overhead crossbeam mounted on extended column uprights | Engineered for high-roof commercial vans and lifted trucks in dedicated high-bay shops |
Manufacturers publish specific dimensions for each configuration. For example, KATOOL lists an overall height of 110.15 inches for its base-plate model, compared with an overall height of 141.25 inches for its standard clear-floor hoist. For commercial high-roof vans, AUTOKATO publishes an overall height of 167 inches on its 13,000-pound extra-height model. Drive-through clearance between columns also varies: KATOOL lists a drive-through clearance of 94.5 inches on its standard clear-floor model, while WEIZE lists a drive-through width of 101 inches on its 12,000-pound hoist.
Step-by-step procedure: how to operate a 2-post lift
- Perform a pre-operational inspection. Check columns, cables, and hydraulic cylinders for damage or leaks. Verify hydraulic fluid levels and ensure lifting pads are clean.
- Position the vehicle between the columns. Slowly drive into the bay according to hoist spotting guidelines. For symmetric hoists with equal-length arms, align the center of gravity midway between columns. For asymmetric hoists with rotated columns and unequal-length arms, align with the designated spotting point for door clearance. Set the parking brake and place the transmission in park or gear.
- Swing the lift arms into place. Swing arms under the chassis and position pads directly beneath manufacturer frame lifting points. Use height extensions when needed to clear rocker moldings or running boards. KATOOL models provide extension support adaptor sets of +30mm and +120mm, while Motool Technology lists extension adapters adding +100mm for recessed frame rails on trucks and SUVs.
- Make initial frame contact. Press the raise push-button on the hydraulic power unit briefly until pads contact frame points, confirming pads sit flush without pinching lines or wiring.
- Verify arm restraint engagement. Confirm mechanical arm restraint teeth on each swing arm have fully engaged to prevent arms from shifting while raised.
- Raise slightly for a stability check. Hold the raise button until tires lift slightly off the floor. Stop the lift and apply moderate force to bumpers to check stability. If the chassis wobbles or shifts, lower immediately and reposition pads.
- Elevate to working height. Hold the raise button to elevate smoothly to working height, watching overhead clearances relative to lights, door tracks, and crossbeams.
- Lower onto mechanical safety locks. Release the raise button and immediately press the lowering valve lever to settle carriages onto mechanical safety lock latches. Visually confirm lock pawls on both columns are fully engaged. Never work under a vehicle supported only by hydraulic fluid pressure.
- Monitor balance during component removal. Removing major components shifts the center of gravity. When unbolting heavy engines, transmissions, or axles, place tall under-hoist support stands beneath the frame.
- Clear the area before lowering. Remove all under-hoist stands, drain pans, tools, and personnel from beneath the vehicle, ensuring the floor is clear.
- Disengage locks and lower. Raise carriages slightly to relieve weight on lock teeth, disengage the safety lock mechanism, and hold the lowering valve lever until the carriage reaches the floor.
- Swing arms clear and exit. Swing all arms outward flat against column bases, verify the path is clear, and slowly drive out of the bay.
Hydraulic cylinders and lines raise the vehicle, but mechanical steel lock latches hold the load. Always lower the hoist carriages directly onto the mechanical locks before stepping under the chassis. As an essential rule of shop safety, never get under a vehicle on a jack alone or on a hydraulic hoist that is not resting securely on its mechanical lock stops.
Check the lift's rated capacity against your heaviest vehicle, and its ceiling and concrete requirements (thickness and strength) before you buy. Install it exactly as the manufacturer specifies, use the mechanical locks before you go under, and look for ALI certification on the model. See the Automotive Lift Institute (ALI). Read our Safety Disclaimer.
2-post lift vs 4-post lift for home garages
A 2-post lift supports the vehicle by the frame, leaving wheels hanging free. This makes it ideal for brake repairs, suspension overhauls, and wheel servicing with full access to the undercarriage. In contrast, a 4-post lift uses drive-on runways, making it faster for parking, fluid inspections, and storage, though wheel work requires sliding bridge jacks. For space and layout comparisons, read our guide on 2-post vs 4-post lifts.
If your garage has limited overhead space, evaluate low-clearance options in our guide to the best car lift for low ceilings, or compare full-size residential units in our roundup of the best car lift for a home garage.
Concrete slab, ceiling clearance and electrical service requirements
Before installing or operating a lift, you must verify the lift maker’s concrete and ceiling requirements. Two-post lifts exert heavy tensile pulling forces on anchor bolts. Hoist manufacturers specify minimum slab thickness, concrete compressive rating, and anchor embedment depth. Never anchor a 2-post lift into cracked concrete or expansion joints.
Ceiling clearance must accommodate both hoist height and vehicle height. In manufacturer listings, KATOOL publishes overall heights ranging from 110.15 inches for base-plate models to 141.25 inches for standard clear-floor units and 166.75 inches for extra-height designs. AUTOKATO lists an overall height of 167 inches on its extra-height model.
Powering the hydraulic pump requires dedicated electrical service. In published listings, KATOOL and WEIZE specify 220V power units with 4.0HP motors (WEIZE lists a 220V 60Hz 1 Phase 4 HP hydraulic power unit), while select KATOOL listings note an optional 110V configuration. Sizing info for conductors and breakers must match the motor nameplate. Electrical work must not involve DIY steps: always use a licensed electrician to install the circuit, run conduit, and wire the motor.
For auxiliary floor work, always place rated stands on solid level ground. Compare support options in our guide to the best jack stands, and confirm fastener torque using our guide to the best torque wrench.
Frequently Asked Questions
Can a vehicle remain raised on a 2 post lift overnight?
Standard shop practice recommends lowering vehicles to the floor when work ends. If a vehicle must remain elevated during ongoing repairs, it must rest securely on mechanical safety lock stops with hydraulic pressure relieved, never on hydraulic fluid pressure alone.
How do I know where to place the lift pads on my vehicle?
Always consult the owner’s manual lift points designated by the vehicle manufacturer, such as reinforced frame sections or dedicated pinch welds. Placing pads under floor pans or suspension linkages can crush components or cause slipping.
What is the difference between symmetric and asymmetric 2 post lifts?
Symmetric lifts feature columns directly opposite each other with equal-length arms, balancing vehicles midway between posts. Asymmetric lifts use rotated columns with shorter front arms and longer rear arms, shifting the cabin rearward so front doors open wider.
What electrical power does a 2 post lift require?
Requirements vary by model. Many heavy-duty hoists, including models from KATOOL and WEIZE, specify 220V power units with 4.0HP motors, while select KATOOL listings note an optional 110V configuration. Dedicated circuit sizing info must follow local codes, and you should always use a licensed electrician.
How do I check vehicle stability before raising to full height?
Raise the vehicle until tires clear the floor by a small margin, stop the lift, and apply firm hand pressure to bumpers. If the chassis shifts on any pad, lower immediately and adjust arm reach or pad height.
Can a 2 post lift handle heavy trucks and SUVs?
Yes, provided vehicle weight does not exceed rated capacity. In published data, KATOOL lists models rated for 11,000 pounds and 12,000 pounds, WEIZE lists a 12,000-pound model, and AUTOKATO lists a 13,000-pound capacity hoist. Use frame extension adapters so pads clear running boards and contact chassis rails squarely.
Related: our guide to 2-post vs 4-post lifts, our review of the best car lift for a home garage, our guide to the best car lift for low ceilings, and our complete car lifts guide.