Radiator Flush DIY: Steps and Supplies Needed
A rust remover, a flush gun, a cleaner additive and a service kit for a DIY radiator flush, compared by size, use and warranty.

On this page
A radiator flush DIY means draining the old coolant, cleaning the cooling system with a flush solution, rinsing it with water and refilling with fresh coolant. The gear below covers each step: a rust remover that treats the system, a flush gun for the heater core, a cleaner additive and a service kit for the hose hookup. Match the gear to the step it handles, and follow the vehicle manual for the drain and refill.
As an Amazon Associate I earn from qualifying purchases. GarageToolHQ earns a commission when you buy through links on our product pages, at no extra cost to you. Read our affiliate disclosure.
Below: what each kind of flush gear does, how to match it to the step, and the gear itself.

CRC Thermocure Cooling System Rust Remover
A non-toxic, water-based cooling system rust remover and flush in a 32 oz bottle, made for radiators, heater cores, engine blocks and water pumps, treating systems up to 3 gallons.
Pros
- Treats cooling systems up to 3 gallons
- Non-toxic, non-corrosive and non-flammable
- Three stated steps: drain, add, top off with water
- Made for radiators, heater cores, engine blocks and water pumps
Cons
- No warranty term stated
- No certification stated
- Solution must stay in the car 3-4 hours up to several days
- Spec table dimensions under 4 in on each side do not fit a 32 oz bottle

Dorman 47016 Coolant Service Kit Universal Fit
A universal-fit coolant service kit with two clamps, multiple tees, a garden hose adapter, an elbow and a cap, backed by a limited lifetime warranty.
Pros
- Limited lifetime warranty stated in the listing table
- Universal fit for a wide range of applications
- Includes two clamps, multiple tees, a garden hose adapter, an elbow and a cap
- Backed by ASE Blue Seal Certified technical support
Cons
- No certification stated for the kit itself
- No flush chemical included; it is fittings only
- No instructions stated in the listing
- Tees are 'multiple' with no count stated

Gulfmew Coolant System Flush Gun
A lever-action coolant system flush gun kit with 4 garden hose connectors, 1 adaptor and 1 roll of PTFE tape, with nozzles for 19-40mm hoses.
Pros
- Combines water and compressed air for flushing
- Nozzles for 19-40mm hoses, with 5 stated sizes
- Trigger handle controls water flow and pressure, with a locking latch
- Kit includes 4 garden hose connectors, 1 adaptor and PTFE tape
Cons
- No warranty term stated
- No certification stated
- Needs a garden hose and an air line, neither included
- Only one connector is described as having a shut-off valve

Liqui Moly Radiator Cleaner | 300 ml
A 300 ml radiator cleaner additive, SKU 2051, with a thin listing that states no use steps.
Pros
- 300 ml cooler additive, SKU 2051
- Single quantity with no core charge required
- A radiator cleaner by name, for the flush job
- 300 ml bottle, the smallest container here
Cons
- Title says 300 ml while the spec table size says 1 Fl Oz
- Bullets state a weight of 0.8 lbs while the spec table says 0.549 lb
- No use steps stated in the listing
- No warranty term with a stated length; the listing only says 'Warranty'
Radiator flush DIY: what the gear does
A flush runs through drain, clean, rinse and refill. The cleaning step needs a chemical that loosens rust, the rinsing step needs water pushed through the system, and the hookup step needs fittings that join a garden hose to the cooling system.
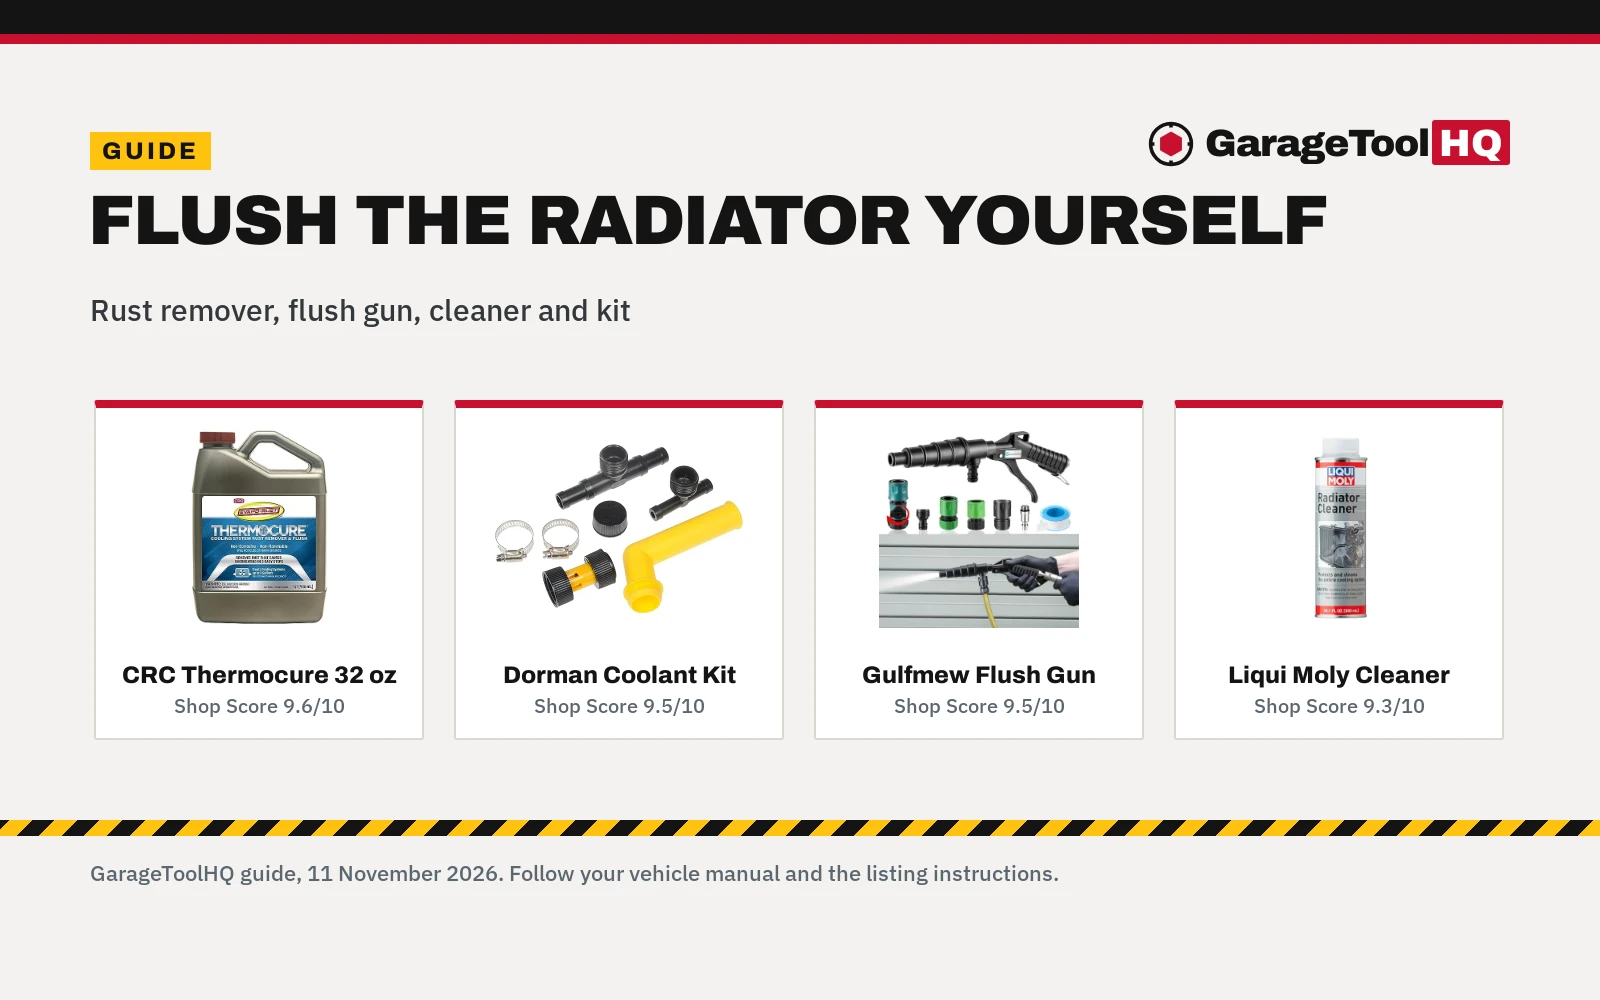
| Gear | Step it handles | What the listing states | Size |
|---|---|---|---|
| CRC Thermocure rust remover | Cleaning the system | Non-toxic, water-based, treats systems up to 3 gallons | 32 oz bottle |
| Gulfmew flush gun | Flushing the heater core and radiator | Air and water combo, nozzles for 19-40mm hoses | 1 gun, 4 connectors |
| Liqui Moly radiator cleaner | Additive for the system | 300 ml cooler additive, SKU 2051 | 300 ml |
| Dorman coolant service kit | Hooking up the hose | Two clamps, multiple tees, garden hose adapter, elbow, cap | Universal fit |
The chemical cleans, the gun and the kit move the water, and the additive is a 300 ml cooler additive.
How to match the gear to the step
For the cleaning step, the Thermocure listing states three steps: drain the coolant, add the solution and top off with water, and let it stay in the car for 3-4 hours up to several days. Then drain the cooling system and flush 3-4 times with water, and refill with the manufacturer’s recommended coolant. It removes rust that causes overheating, and it treats systems up to 3 gallons.
For the flushing step, the Gulfmew gun combines water and compressed air to remove rust, dirt and debris from the heater core. Connect the water and air inlets to a garden hose and an air line, insert the nozzle into the hose and turn on the tap. Nozzles come in five sizes for 19-40mm hoses, and the connectors fit 3/4-inch, 5/8-inch and 1/2-inch garden hose with a 1/4 inch air inlet.
For the hookup step, the Dorman kit supplies two clamps, multiple tees, a garden hose adapter, an elbow and a cap, in a universal fit. The listing states fresh coolant helps prevent freezing, overheating and possible extensive damage to the cooling system.
For the additive step, the Liqui Moly listing gives almost nothing to match against: a 300 ml cooler additive, SKU 2051, sold as a single quantity with no core charge required, and no stated steps or amounts.
The gear: radiator flush DIY supplies
Each product below handles a different step of the same flush: cleaning the system, flushing the core, adding a cleaner, or hooking up the hose.
Handling flush chemicals safely
Flush chemicals and old coolant need care. The Thermocure solution is non-toxic, non-corrosive and non-flammable, and the Liqui Moly cleaner is a cooler additive with no safety claims stated. Catch old coolant for disposal per local rules, never pour it down a drain.
Use rated jack stands on solid ground, wear eye protection with power and air tools, keep fuel-burning equipment out of a closed garage, and follow the manual for every tool. Read our Safety Disclaimer.
FAQ: garage tools
What does a radiator flush DIY involve?
Per the Thermocure listing, it means draining the coolant, adding the flush solution and topping off with water, letting it stay in the car for 3-4 hours up to several days, draining and flushing 3-4 times with water, then refilling with fresh coolant. Follow the vehicle manual for the drain and refill.
How long does the flush solution stay in the car?
The Thermocure listing states the solution stays in the car for 3-4 hours up to several days. After that, drain the cooling system and flush 3-4 times with water before refilling.
What is a flush gun for?
A flush gun pushes water and compressed air through the heater core or radiator to clear rust, dirt and debris. The Gulfmew gun combines both, with nozzles for 19-40mm hoses.
Do I need a service kit to flush a radiator?
It helps with the hookup. The Dorman kit supplies two clamps, multiple tees, a garden hose adapter, an elbow and a cap, in a universal fit, so a garden hose can join the cooling system for flushing.
What is the Liqui Moly radiator cleaner?
It is a 300 ml cooler additive, SKU 2051, sold as a single quantity with no core charge required. The listing states no use steps or amounts, so it suits an owner who already knows how they use a cleaner additive.
Can a flush fix overheating?
The Thermocure listing states its solution removes rust that causes overheating. A flush helps when rust is the cause; other causes need diagnosis beyond a flush.
Related: best car radiator flush, the best coolant flush kit for home garage, radiator flush vs coolant change and how to drain engine coolant. Also see the types of engine coolant, the best radiator flush for aluminum radiators and the engine and shop equipment hub.