How to Use Scissor Lift: Step-by-Step Garage Guide
A step-by-step guide on how to use a scissor lift safely, from pre-lift floor checks and spotting to mechanical lock engagement and controlled lowering.

On this page
Top picks at a glance
As an Amazon Associate we earn from qualifying purchases.
- 1
 QISHIDA 7000 LBS Portable Car Lift Mid Rise Scissor Lift 110V9.6/10View on Amazon
- 2
 KATOOL Portable Car Lift Mid Rise Scissor Lift 110V Electric9.6/10View on Amazon
- 3
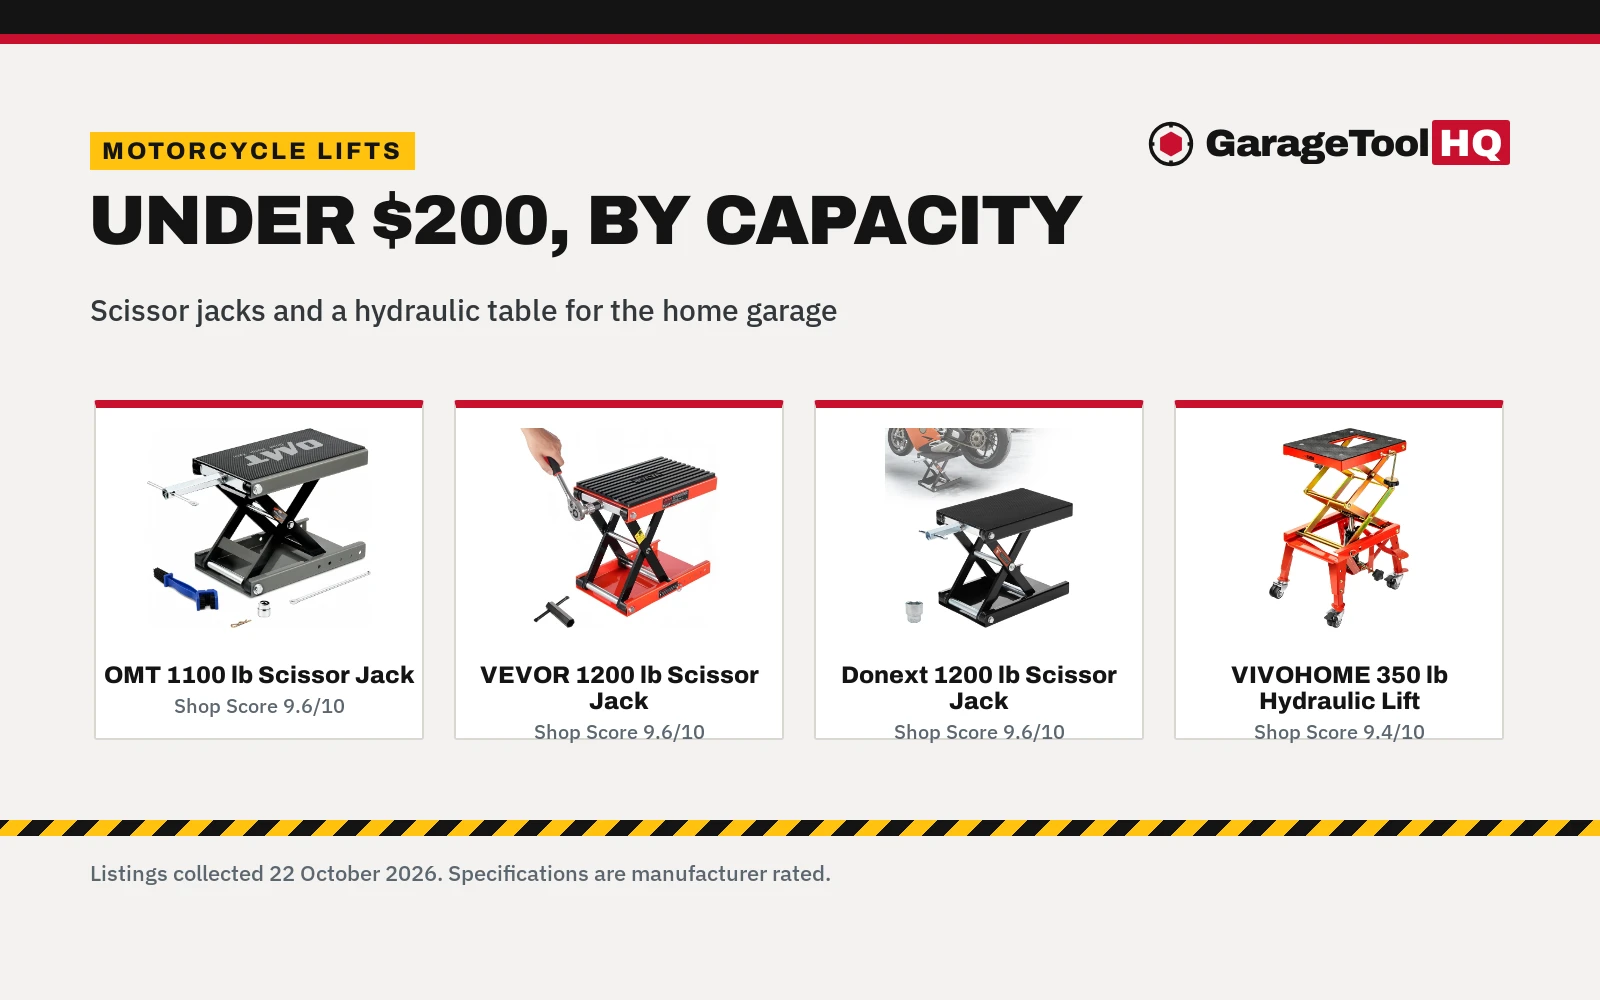
 OMT 1100lb Motorcycle Scissor Lift Jack Wide Deck Hoist Stand9.6/10View on Amazon
- 4
 DIHOOL Electric Scissor Lift TableView on Amazon
- 5
 DIHOOL Electric Scissor Lift Table 330LbsView on Amazon
How to use scissor lift systems safely in a home garage requires a disciplined procedure: position the lift on a level concrete floor, align the lifting pads with the vehicle frame, raise to height and rest the carriage onto mechanical safety locks, and clear all obstacles before controlled lowering. Never work under a vehicle supported only by hydraulic pressure, and never get under a vehicle on a jack alone. Always follow the lift maker’s concrete and ceiling requirements and the vehicle owner’s manual lift points.
More options to compare
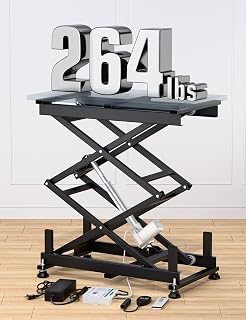 DIHOOL Electric Scissor Lift TableCheck price on Amazon
 DIHOOL Electric Scissor Lift Table 330LbsCheck price on Amazon
GarageToolHQ earns a commission when you buy through links on our product pages, at no extra cost to you. Read our affiliate disclosure.
Below: understanding scissor lift hazards, comparing lift configurations, an operational safety checklist, and where to buy reliable equipment for your shop.
How to use scissor lift safely: where the risks come from
Scissor lifts provide a stable platform and a compact footprint, but elevating heavy vehicles and equipment off the floor introduces serious mechanical hazards. Understanding how these mechanical and hydraulic systems behave helps prevent catastrophic shop accidents. In a garage setting, scissor lift hazards center around several primary failure modes:
- Hydraulic pressure loss. Hydraulic cylinders, fittings, and flexible hoses endure high pressure during lifting. A ruptured hose, damaged seal, or loose coupler can cause rapid descent unless mechanical safety locks are engaged. Never rely on hydraulic fluid to hold an elevated load while working.
- Uneven loading and center-of-gravity shifts. Placing a vehicle off-center or lifting on an unlevel surface creates severe torsional stress on the scissor linkages. Removing heavy components such as an engine, transmission, or rear axle assembly while the car is raised alters the balance point and can tip the vehicle off its pads.
- Pinch points and scissor shear zones. The crossing steel arms of a scissor mechanism create powerful scissor action as they collapse. Hands, feet, electrical cords, and hydraulic lines caught between moving scissor links can be crushed or severed instantly.
- Substrate failure or floor sloping. Concentrated base plate loads require a solid foundation. Cracked slabs, expansion joints, or sloped garage floors can shift under load, causing the entire frame to rack or overturn.
Types of scissor lifts and where they belong in a shop
| Lift Type | Lifting Mechanism and Controls | Primary Shop Application |
|---|---|---|
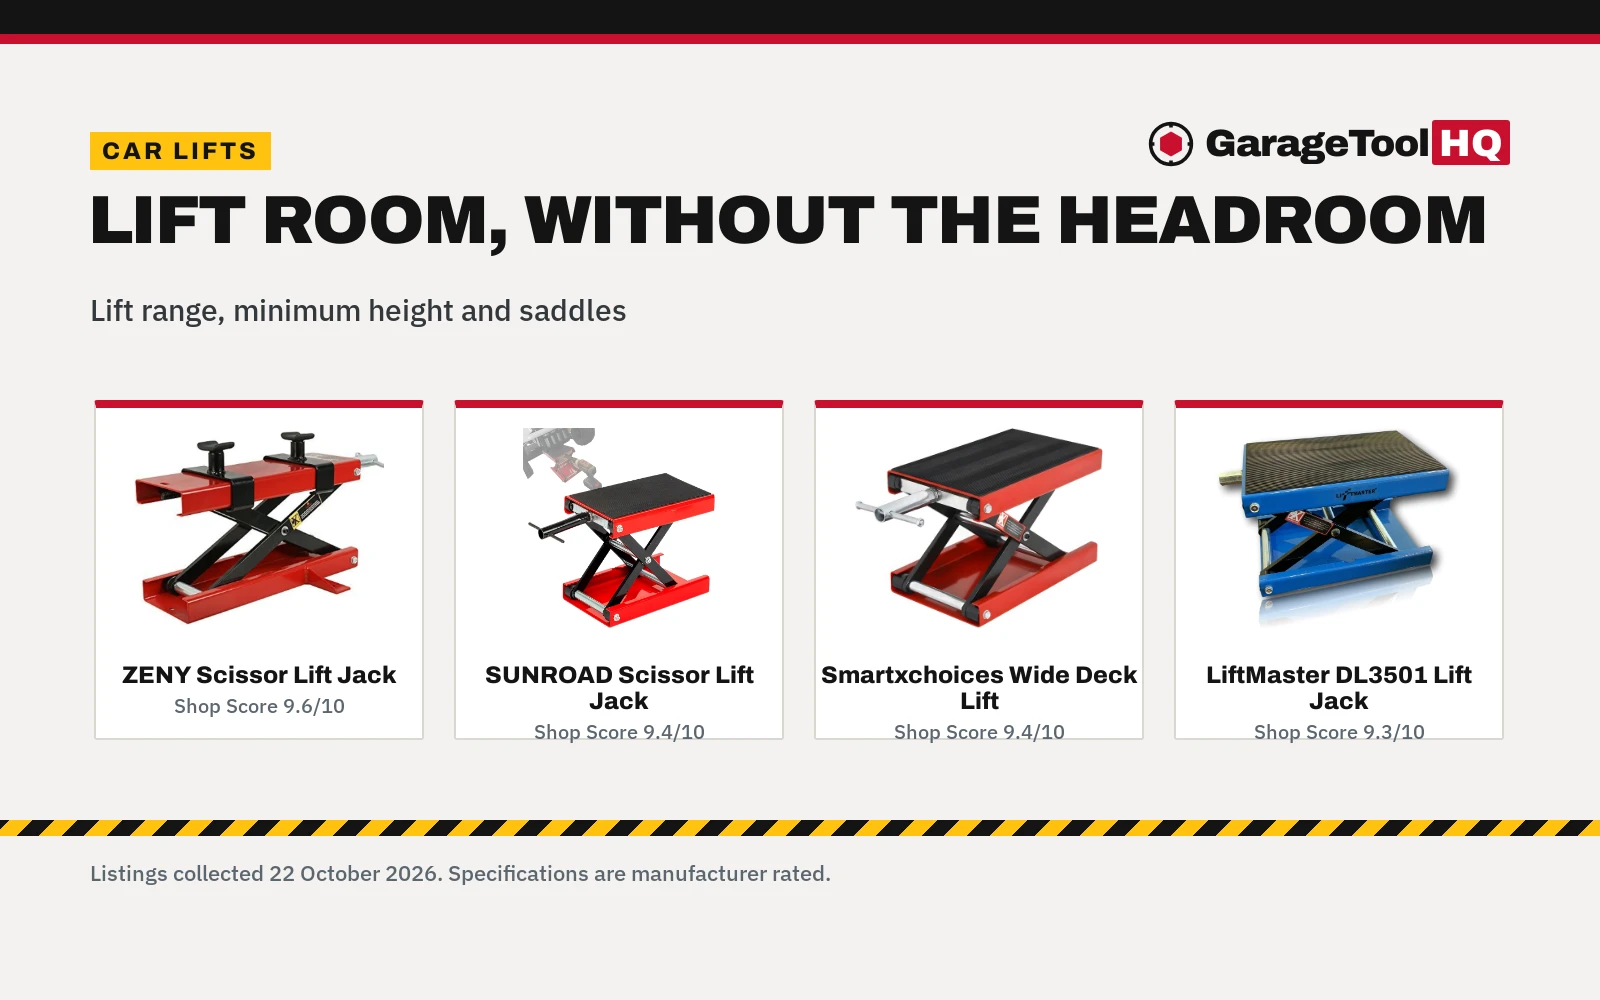
| Motorcycle scissor jack or stand | Manual center crank or hydraulic pedal with mechanical locking pin | Positioned under motorcycle frame or engine cradle; requires level floor and safety lock engagement |
| Hydraulic scissor lift table cart | Foot-pump hydraulic cylinder with hand release lever and locking casters | Material handling and bench transfer for engines, transmissions, or heavy shop parts |
| Automotive mid-rise scissor lift | Electric-hydraulic power unit with dual hydraulic cylinders and mechanical safety lock bars | Vehicle wheel, brake, suspension, and detailing work; requires solid, level concrete |
Load capacities and lift ranges vary by model, so always check the specification plate rather than assuming category limits. For example, in motorcycle lifts, VIVOHOME lists an 1100 lbs load capacity with a 3.5 to 14.5 inches lifting range on its center stand, while VEVOR lists an 1100 lbs capacity with a 3.7 to 13.8 inches lifting range and a 6-position safety pin, and other listings specify 350 lbs capacities. For mobile table carts, CAMMOO lists a 500 lb capacity with a 28.5 inches lifting height, while FORGLO lists a 330 lbs capacity with a lifting range of 10.6 to 49.6 inches on 4 wheels. When lifting passenger vehicles, ratings must be verified directly against the lift manufacturer’s serial plate.
How to use a scissor lift safely: the operational checklist
- Inspect the concrete floor and surrounding area. Verify that the floor is flat, level, and solid concrete without cracks, slopes, or oil spills. Clear away cords, hoses, tools, and debris that could foul the scissor mechanism or base rollers.
- Check the rated load capacity. Never exceed the maximum weight rating printed on the lift data plate. Compare vehicle curb weight and axle weight against the rated capacity, accounting for tools or parts on the vehicle.
- Align with manufacturer lift points. Position the vehicle or equipment directly over the platform or hoist adapters. Consult the vehicle owner’s manual lift points to locate the designated structural reinforced pinch welds or frame rails. Never position pads under floor pans, suspension arms, steering linkages, or exhaust pipes.
- Position rubber pads and adapters securely. Use textured rubber pads or designated adapters to prevent metal-to-metal slippage. Ensure equal contact across all lift points to prevent rocking or uneven weight distribution.
- Perform a low-clearance stability check. Raise the platform just until the vehicle clears the floor. Stop and check that all lifting pads remain firmly seated at the vehicle manufacturer lift points, then gently verify stability at a bumper corner to confirm that the load is centered before raising further.
- Raise smoothly to working height. Operate the hydraulic pump foot pedal, electric control console, or manual crank steadily. Keep sight of the scissor arms, hydraulic hoses, and surrounding clearance to ensure nothing binds or strikes obstructions.
- Lower onto mechanical safety locks. Once at the desired height, lower the lift slightly until the mechanical lock bars or safety pins engage fully into their locking teeth or brackets. Relieve hydraulic pressure so the physical steel lock carries the load. Never get under a vehicle on a jack alone or rely on hydraulic pressure without mechanical lock engagement.
- Clear tools and personnel before lowering. Before descending, remove all under-vehicle support devices, tool carts, drain pans, creepers, and hoses from beneath the lift. Warn everyone in the shop area to stand clear of the scissor mechanism pinch points.
- Disengage locks and control the descent. Raise the lift slightly off the mechanical lock stops, disengage the safety lock mechanism or pull the safety release lever, and use the hydraulic release control to lower the lift in a controlled, steady motion. Keep feet and hands clear of the scissor linkages as the platform collapses flat.
Hydraulic seals and hoses can lose pressure without warning. Never work beneath or around a raised scissor lift until its mechanical safety locks or pins are fully engaged. Follow the lift maker’s concrete and ceiling requirements. When servicing a vehicle on the floor with a hydraulic jack instead of a lift, never get under a vehicle on a jack alone; always support the vehicle on rated stands on solid level ground.
Check the lift's rated capacity against your heaviest vehicle, and its ceiling and concrete requirements (thickness and strength) before you buy. Install it exactly as the manufacturer specifies, use the mechanical locks before you go under, and look for ALI certification on the model. See the Automotive Lift Institute (ALI). Read our Safety Disclaimer.
Scissor lifts vs two-post lifts
When deciding on vehicle lifting equipment for a residential shop, comparing scissor lifts with post lifts helps clarify which design fits your ceiling height and maintenance workflow:
- Ceiling clearance: Mid-rise scissor lifts raise vehicles to heights suitable for brake and tire work without requiring the tall vertical clearance demanded by overhead columns. For spaces with limited overhead room, explore our guide to the best car lift for low ceiling garages.
- Under-car access: Two-post lifts leave the entire center undercarriage open for exhaust, driveshaft, and transmission work. Scissor lifts place framework and cross-torsion structures beneath the vehicle, which provides great stability for wheel, brake, and body work, but limits center driveline and creeper access. See our walkthrough on how to use a 2 post lift for comparison.
- Installation and concrete requirements: Many low-rise and mid-rise vehicle scissor lifts are portable units that rest directly on existing level concrete floors during operation without requiring deep anchor bolts, using detachable wheel kits only to move the unloaded lift for storage. Two-post lifts require permanent anchor bolting into reinforced concrete slabs meeting the lift maker’s concrete and ceiling requirements. Read our comparison of 2-post vs 4-post lift models to weigh permanent mounting versus portable layouts.
- Shop footprint: When fully collapsed, low-profile scissor lifts can be parked over or rolled away into a corner. Two-post lifts permanently occupy bay width between structural steel uprights. Compare overall shop layouts in our roundup of the best car lift for home garage setups.
For portable lifting alternatives, compare floor jacks in our guide to the best floor jack for cars or evaluate traditional support methods alongside best jack stands for quick wheel-off maintenance.
Where to buy a scissor lift and what to verify
Knowing where to buy a scissor lift and what documentation to demand helps protect your shop investment and personal safety. Equipment can be purchased directly from established automotive equipment distributors, certified manufacturer supply outlets, or major commercial tool retailers. When sourcing equipment, avoid unbranded listings that fail to publish verified steel grades, warranty terms, or load ratings.
Before purchasing, check the manufacturer’s published specifications for:
- Structural steel specification: Reputable manufacturers specify high-strength cold-rolled steel, carbon steel, or alloy steel construction. For example, CAMMOO specifies carbon steel frames with chrome-plated handles, while VEVOR lists cold-rolled steel structures on its scissor carts.
- Safety locks and fail-safes: Look for multi-position mechanical lock bars or positive-locking safety pins rather than relying solely on hydraulic check valves. VEVOR provides a 6-position safety pin on its center scissor jack, and VIVOHOME includes locking pins and J-hook stabilizers on its motorcycle lift tables.
- Warranty coverage: Check the written manufacturer warranty policy. VIVOHOME states a 1 year warranty on its VH1225 lift table, whereas many unbranded listings state no warranty terms whatsoever.
- Electrical requirements: If selecting a motorized hydraulic power unit, confirm power supply needs and dedicated circuit sizing. Never attempt DIY modifications on high-voltage power packs; hire a licensed electrician to verify wiring, receptacle compatibility, and breaker capacity.
Frequently Asked Questions
Can I use a scissor lift on an asphalt driveway?
No. Asphalt softens under heat and concentrated pressure, which allows heavy base frames to sink, shift, or tilt. Always operate a vehicle scissor lift on flat, cured, level concrete that satisfies the lift maker’s concrete and ceiling requirements.
How do I know if my scissor lift is resting on the safety locks?
After raising the vehicle slightly past the desired lock position, slowly open the hydraulic release lever to lower the lift onto the mechanical stop. The weight of the vehicle should transfer audibly and visibly onto the steel locking teeth or pins, causing hydraulic hose tension to relax. If the lift continues descending, the lock has not engaged.
Can I use a scissor lift for oil changes?
Yes, provided your vehicle drain plug is accessible. On automotive scissor lifts, check whether the platform or crossbars obstruct the engine oil pan before lifting; twin-runway designs often leave room between platforms, whereas solid-deck lifts block center access. For motorcycle maintenance, models like the VIVOHOME lift table feature a dedicated center drain hole that lets engine oil drain straight through into a pan.
Where to buy a scissor lift with reliable warranty support?
Purchase through authorized automotive equipment distributors, specialty tool retailers, or directly from manufacturer storefronts that publish clear warranty terms and provide replacement parts. Avoid third-party listings that fail to state warranty duration or lack accessible customer service channels.
Do I need anchor bolts for a mid-rise scissor lift?
It depends on the manufacturer’s design. Many mid-rise scissor lifts are portable units engineered with wide base plates that rest directly on level concrete. However, flush-mount or heavy-duty units may specify floor anchoring. Always consult the maker’s installation manual for required floor preparation and anchor specifications.
Can I use a floor jack together with a scissor lift?
Never use a floor jack to raise one end of a vehicle while the other end sits on an elevated scissor lift. Doing so introduces severe angular loads that can slip off lifting pads or twist the scissor mechanism. If performing maintenance that relies on a floor jack rather than a lift, never get under a vehicle on a jack alone; always support the vehicle on rated stands on solid level ground.
Related: best car lift for home garage, our guide on how to use a 2 post lift, the best car lift for low ceiling, our guide to the best floor jack for cars, and the car lifts hub.