How to Bleed a Floor Jack: Step-by-Step Guide
How to purge trapped air from a hydraulic floor jack, inspect the oil reservoir plug, and restore full lifting capacity using a simple step-by-step procedure.

On this page
Top picks at a glance
As an Amazon Associate we earn from qualifying purchases.
- 1
 AV Steel Low Profile Floor Jack 3 Ton9.7/10View on Amazon
- 2
 Jack Boss 3 Ton Low Profile9.7/10View on Amazon
- 3
 AV Steel 3 Ton Floor Jack9.7/10View on Amazon
- 4
 Pro-Lift Low Profile Floor Jack Color GreyView on Amazon
- 5
 BIG RED Hydraulic Trolley Service/Floor Jack with Extra SaddleView on Amazon
- 6
 ARCAN 3-Ton Aluminum Low Profile Floor JackView on Amazon
- 7
 BIG RED AT815016LR Torin Hydraulic Low Profile Aluminum andView on Amazon
- 8
 BIG RED T815016L Torin Hydraulic Low Profile Aluminum andView on Amazon
- 9
 Powerbuilt 2 Ton Triple Lift Floor JackView on Amazon
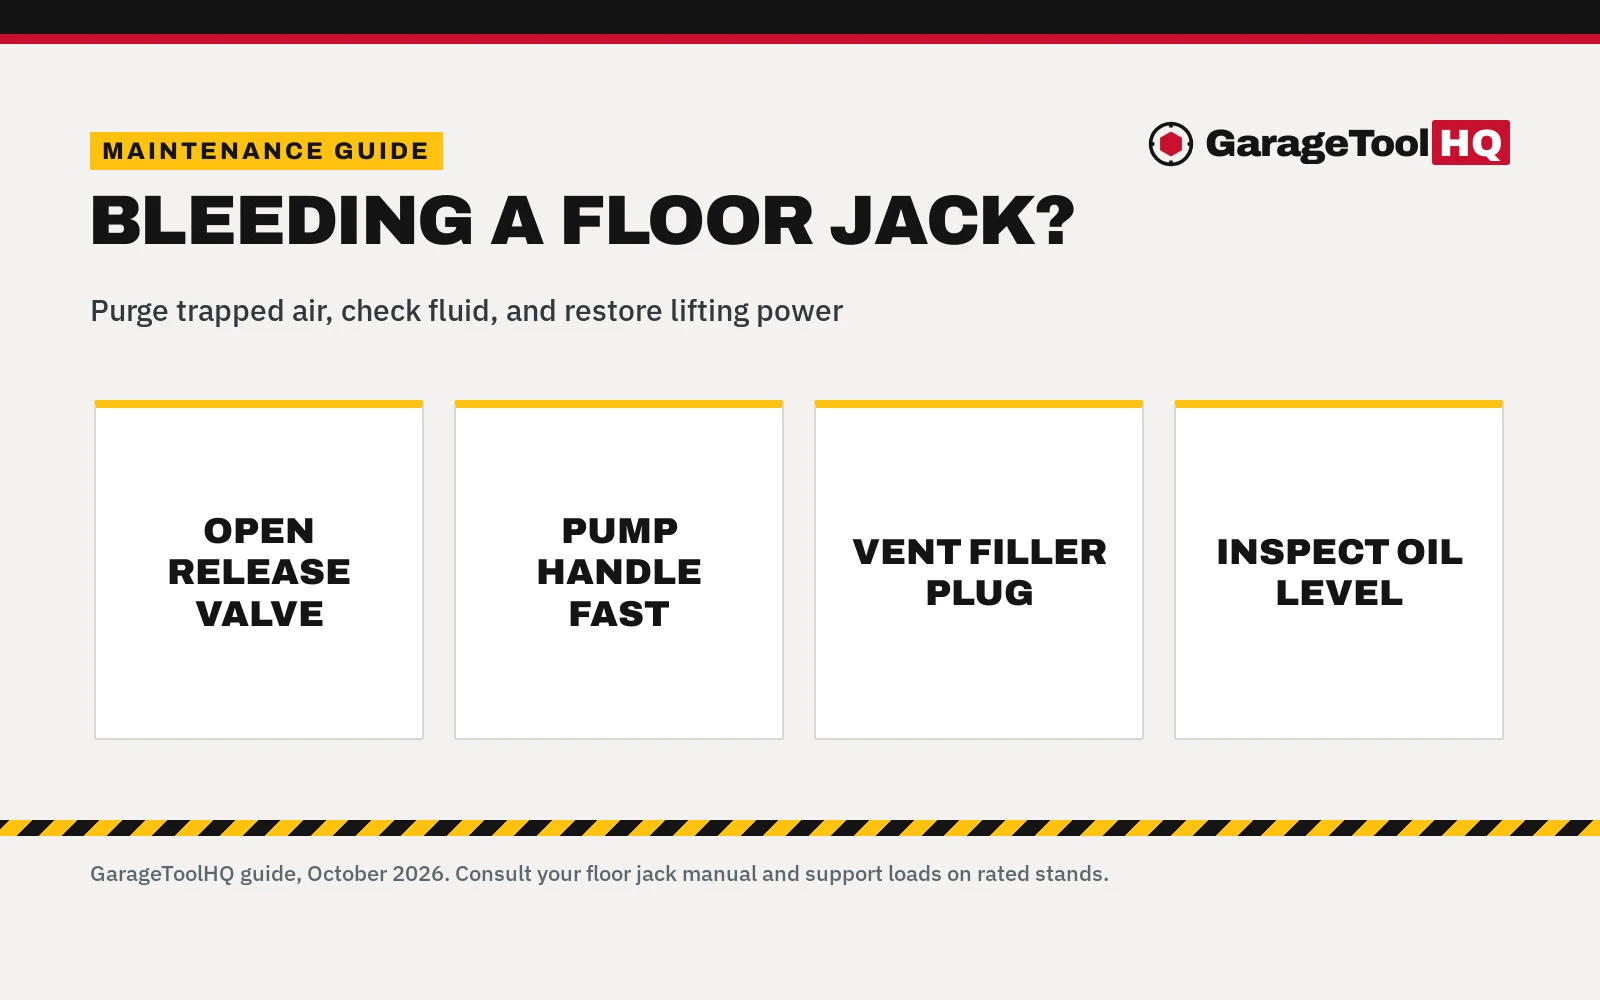
How to bleed a floor jack? To bleed a hydraulic floor jack, open the release valve counterclockwise, pump the handle rapidly through full strokes to force trapped air into the reservoir, vent the rubber filler plug to let the air escape, and then reseal the plug. Trapped air inside the hydraulic cylinder causes spongy handle resistance, prevents the lifting arm from reaching full height, and prevents the ram from lifting vehicle weight. Purging this trapped air restores firm hydraulic pressure and smooth lifting performance without requiring tools or disassembly.
More options to compare
 Pro-Lift Low Profile Floor Jack Color GreyCheck price on Amazon
 BIG RED Hydraulic Trolley Service/Floor Jack with Extra SaddleCheck price on Amazon
 ARCAN 3-Ton Aluminum Low Profile Floor JackCheck price on Amazon
 BIG RED AT815016LR Torin Hydraulic Low Profile Aluminum andCheck price on Amazon
 BIG RED T815016L Torin Hydraulic Low Profile Aluminum andCheck price on Amazon
 Powerbuilt 2 Ton Triple Lift Floor JackCheck price on Amazon
GarageToolHQ earns a commission when you buy through links on our product pages, at no extra cost to you. Read our affiliate disclosure.
Below: why air enters hydraulic floor jack circuits, how to recognize symptoms of air contamination, a step-by-step purge procedure, and essential fluid maintenance rules.
How to bleed a floor jack: why air gets trapped in the hydraulic system
Hydraulic floor jacks rely on an incompressible fluid to transfer force from the pump piston to the main lift ram. Unlike hydraulic oil, air is compressible. When air bubbles enter the high-pressure pumping chamber, the pump piston merely compresses and decompresses the air pocket instead of moving oil under the lift ram. That trapped air creates several operational problems in a home garage:
- Loss of lifting stroke. The handle feels springy or loose on the downward pump stroke, requiring rapid cycling just to get the saddle moving.
- Reduced maximum height. When air occupies volume inside the cylinder, the ram cannot extend through its full lifting range before running out of pressurized fluid.
- Inability to lift under load. A jack with entrained air may raise freely with no weight on the saddle, but as soon as it meets vehicle weight, the trapped air compresses under high pressure and the lifting arm stalls or fails to rise.
- Uncontrolled arm movement. Trapped air can cause the lifting arm to hesitate, rise unevenly, or drop slightly between pump strokes.
Air commonly enters a floor jack during transport when the unit is laid horizontally or tilted upside down, during rapid lowering without load, or when the hydraulic fluid level drops low enough that the pump intake draws from the air cavity above the fluid reservoir. Unlike internal seal failure, which causes a raised jack to slowly sink under vehicle load, air contamination primarily prevents the tool from generating lifting pressure.
Floor jack hydraulic symptoms and bleeding solutions
| Symptom | Hydraulic cause | Does bleeding fix it? |
|---|---|---|
| Spongy handle stroke or handle springs back | Air pocket trapped inside the pumping chamber | Yes, opening the release valve and pumping purges air to the reservoir |
| Lifting arm fails to reach maximum height | Air volume replacing fluid in the cylinder or low oil | Yes, bleed trapped air and check fluid level at the filler port |
| Jack raises only when pumped rapidly | Air bubble interfering with the inlet check valve ball | Yes, cycling fluid with the release valve open clears the valve seat |
| Jack raises with no load but drops under vehicle weight | Contaminated check valve seat or leaking internal seal | Bleed first to clear debris from check balls; worn internal seals require rebuild |
Physical symptoms indicate whether a floor jack suffers from simple air contamination or mechanical seal degradation. If bleeding the jack clears the spongy handle feel and restores full stroke, the hydraulic circuit is sound. If the jack continues to sink under load after a thorough purge and fluid inspection, damaged internal cup seals, scored cylinder walls, or worn check valves are the underlying cause.
How to bleed a floor jack step by step: the complete purge process
- Lower the lifting arm completely. Turn the release valve counterclockwise using the jack handle. Ensure the lifting arm and ram retract fully into the cylinder. Complete retraction returns fluid from the lift cylinder back into the reservoir, gathering trapped air pockets toward the top of the hydraulic circuit.
- Open the release valve. Keep the release valve turned counterclockwise so the hydraulic circuit remains open. In this position, pumping the handle moves fluid directly through the bypass passages back into the reservoir rather than building pressure under the lifting ram.
- Pump the handle vigorously through full strokes. With the release valve open, pump the handle rapidly through multiple full strokes. Rapid pumping pushes hydraulic fluid through the internal passages and across the check ball seats, dislodging stubborn air bubbles and sweeping them into the low-pressure reservoir cavity.
- Vent the rubber oil filler plug. Locate the rubber filler plug positioned on the reservoir cylinder body. Carefully pry back or pull the plug edge until you hear trapped air vent from the reservoir with an audible release. Avoid tearing or distorting the rubber material during removal.
- Inspect the hydraulic fluid level. With the rubber plug removed and the lifting arm fully retracted, look directly into the filler port. The hydraulic oil level should sit just below the lower edge of the opening. If the fluid level is low, add clean hydraulic jack oil until it reaches the fill line.
- Reseat the reservoir plug firmly. Push the rubber plug back into the filler opening until flush. A snug seal prevents atmospheric moisture, dirt, and garage debris from contaminating the reservoir chamber during storage and operation.
- Close the release valve and verify operation. Turn the release valve clockwise until snug without overtightening. Pump the handle through full strokes to confirm the lifting arm rises smoothly to maximum height and holds position without sponginess. Open the release valve to confirm controlled, smooth lowering.
A floor jack is engineered exclusively to lift a vehicle, never to hold it while working underneath. Always transfer the vehicle load onto rated jack stands set on level concrete before beginning work under any vehicle. Always consult the vehicle manual for approved lifting points and verify stable support before removing the jack.
A jack is for lifting, not holding. Never work under a vehicle supported only by a jack: set it on rated jack stands, on solid, level ground, at the manufacturer's lift points, chock the wheels, and give the car a firm shake before you go under. Read our Safety Disclaimer.
Hydraulic jack oil vs alternative garage fluids
When maintaining a hydraulic floor jack, fluid choice directly affects seal life and hydraulic stability. Never introduce improvised garage fluids into a hydraulic jack reservoir:
- Brake fluid destroys seals. Brake fluid contains aggressive solvents formulated for high-temperature automotive brake circuits. In a floor jack, brake fluid attacks, softens, and destroys nitrile and neoprene rubber seals, leading to total hydraulic failure.
- Motor oil causes foaming. Engine oil contains detergent packs and viscosity modifiers not engineered for low-velocity hydraulic circuits. Motor oil tends to foam under rapid pumping, creating tiny entrained air bubbles that cause ongoing sponginess.
- Dedicated hydraulic jack oil protects components. Approved hydraulic jack oil contains anti-wear additives, anti-foaming agents, and oxidation inhibitors designed specifically for hydraulic pumps and rams. Formulations vary by brand; for example, Bar’s Leaks lists a 10W viscosity hydraulic jack oil with anti-wear additives in a 12.5 fluid ounces bottle (HJ12), formulated to protect seals and maintain consistent hydraulic operation in floor jacks and bottle jacks.
If you suspect the wrong fluid was added to a jack, drain the reservoir completely, flush the system with clean hydraulic jack oil, and perform a full purge procedure before putting the tool back into service.
Maintaining reservoir plugs and saddle contact
Preventative maintenance extends beyond bleeding air from the fluid circuit. Inspecting the physical sealing components and saddle interface ensures safe, reliable lifting:
- Reservoir plug condition. The rubber filler plug must remain pliable to maintain an airtight seal. Aged, cracked, or loose plugs allow oil to weep out during transport and permit moisture to enter the reservoir. Reservoir plug dimensions differ across equipment lines; for example, Veemoon lists rubber reservoir plugs designed for a 0.55-inch (14mm) filler port on horizontal car jacks, while Tuxihapp lists rubber plugs sized for an 8 mm (0.31 inches) reservoir fill hole. Always measure your jack filler port to ensure a proper seal.
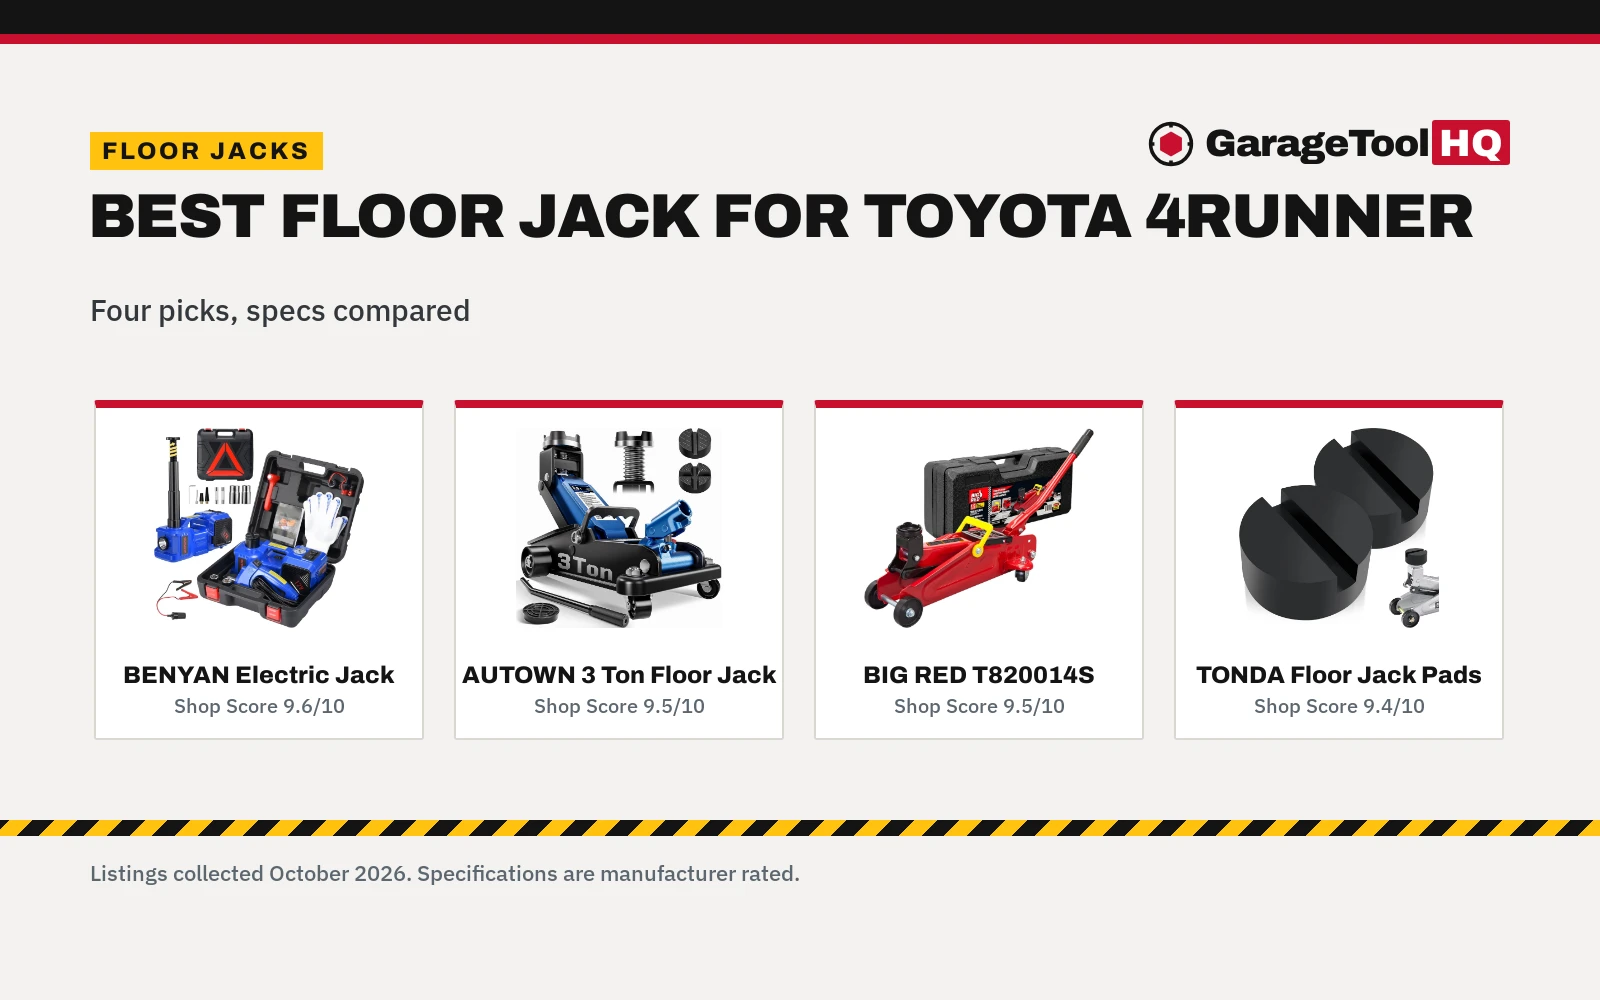
- Saddle contact and pinch weld protection. When raising unibody vehicles by factory rocker pinch welds, bare metal jack saddles can scratch protective undercoating and fold sheet-metal seams. Using a slotted rubber adapter cushions contact and distributes weight across the lift point. Saddle pad dimensions depend on equipment compatibility; for example, TONDA lists rubber pinch weld pads measuring 2.83 inches in diameter and 1.29 inches in thickness with a 0.51-inch-wide and 0.5-inch-deep slot, specified for compatible 2-3 tons floor jacks where saddle dimensions match.
If a floor jack continues to drop under vehicle weight after bleeding and fluid checks, internal check valve scoring or ram seal failure may require replacing the unit. Our guide to the budget floor jacks covers durable hydraulic models for home garages.
Frequently Asked Questions
How do I know if my floor jack needs to be bled?
A floor jack needs bleeding when the handle feels spongy or springy, the saddle fails to reach its maximum lifting height, or the lifting arm will not rise under vehicle weight. Air trapped inside the hydraulic fluid compresses under load, preventing the hydraulic ram from generating firm lifting force.
Can I use motor oil or brake fluid in a floor jack?
No. Never use brake fluid or motor oil in a hydraulic jack. Brake fluid attacks and softens rubber hydraulic seals, causing rapid fluid leaks and complete hydraulic failure. Motor oil contains detergent additives that cause fluid foaming and air entrainment. Always use dedicated hydraulic jack oil.
Where is the bleed valve on a floor jack?
Many horizontal floor jacks do not have a separate bleed screw, relying instead on the release valve and the rubber oil reservoir filler plug to purge air. However, some designs incorporate a dedicated vent screw on the hydraulic block. Always consult your equipment manual to identify the specific bleed location.
Why does my floor jack lift with no load but drop under vehicle weight?
When a jack raises freely without weight but sinks under load, the check valves or release valve may not be seating cleanly. Trapped air or debris around the check balls prevents a tight seal. Bleeding the hydraulic circuit often dislodges debris and restores valve seating. If bleeding does not resolve the issue, internal seals or the release valve face may be worn.
How often should you bleed a floor jack?
Bleed a floor jack whenever you notice spongy handle resistance, reduced lifting height, or after the jack has been tipped on its side during transport or storage. Jacks stored upright in a clean garage rarely require frequent bleeding unless fluid has leaked or the reservoir plug has been removed.
Why does air get inside a hydraulic floor jack?
Air enters a floor jack when the tool is transported on its side, tipped upside down, or stored horizontally with a loose filler plug. Air can also enter if the hydraulic fluid level drops low enough that the pump intake draws from the air cavity above the fluid reservoir rather than oil.
Related: our troubleshooting guide on why a floor jack is not lifting, our safety guide on how to use a floor jack safely, our comparison of steel vs aluminum floor jacks, and our jacks and stands hub. Also see our advice on what size floor jack do I need.