Air Compressor Problems and Solutions: Troubleshooting and Shop Fixes
How to diagnose and resolve common air compressor problems, including pressure loss, startup failure, breaker trips, air leaks, and pump overheating.

On this page
Top picks at a glance
As an Amazon Associate we earn from qualifying purchases.
- 1
 Campbell Hausfeld 80-Gallon Vertical Electric Air Compressor9.7/10View on Amazon
- 2
 Ingersoll Rand SS3L3 Single Stage Air Compressor9.7/10View on Amazon
- 3
 Stealth Air Compressor 2 Gallon9.7/10View on Amazon
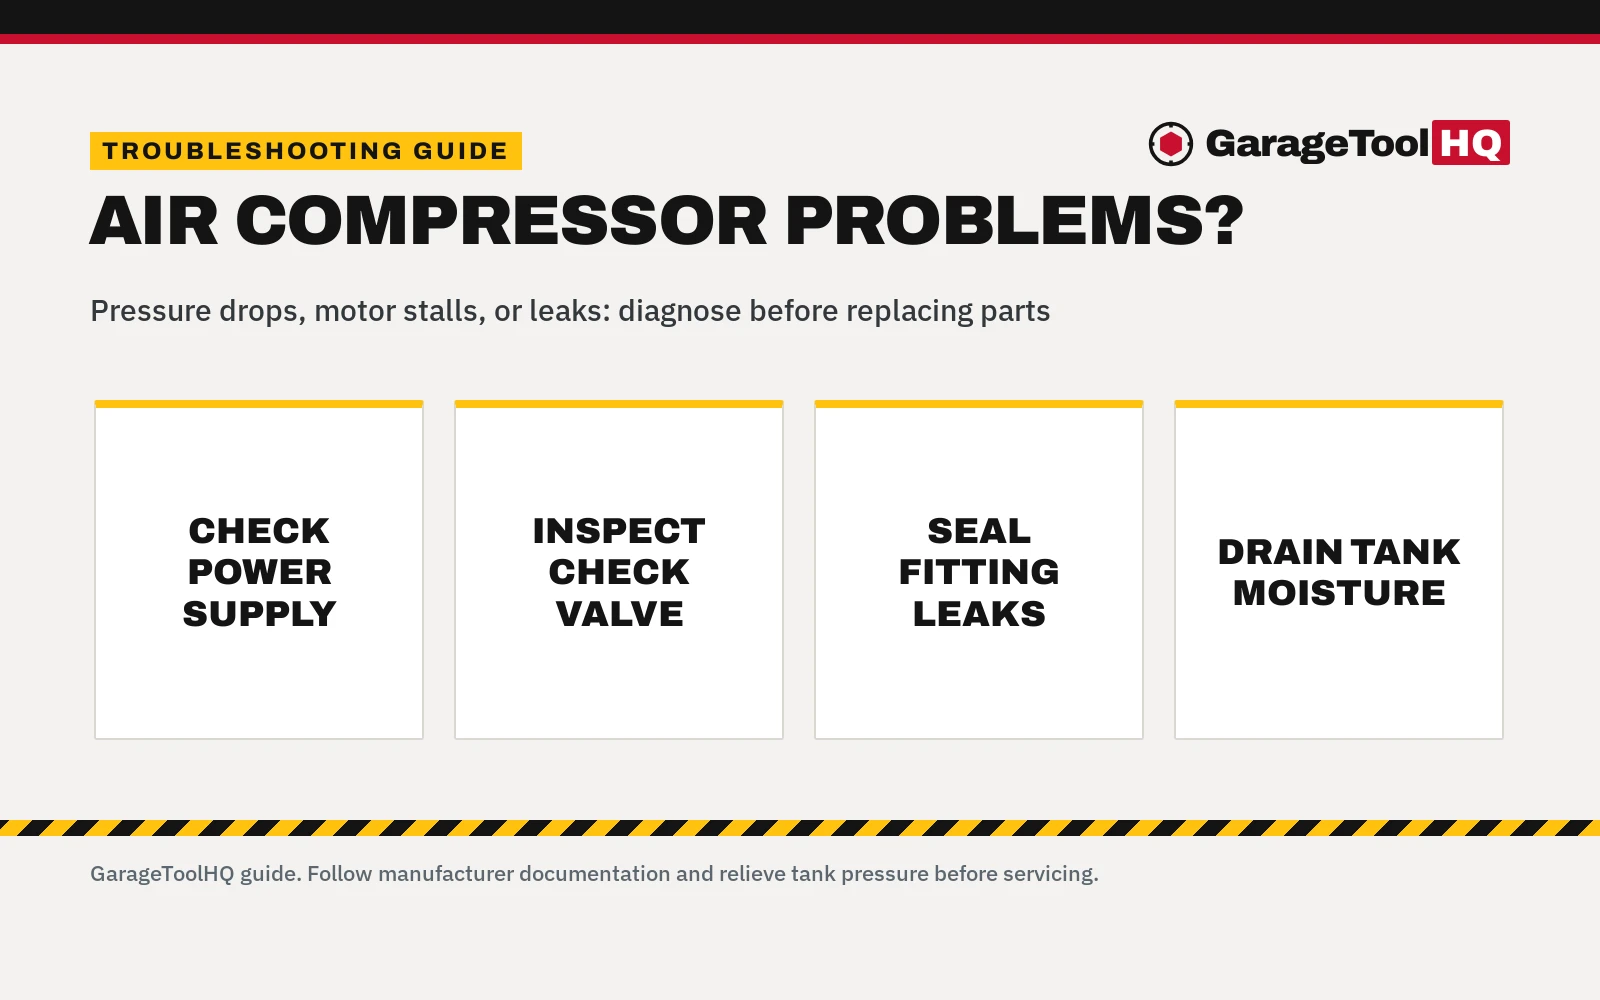
You roll a floor jack under the front subframe for a weekend brake job or tire rotation, pull the hose reel to spin off stubborn lug nuts, and squeeze the impact trigger, only to hear the tank hissing or the pump motor humming without building pressure. Most air compressor problems and solutions involve air leaks at pipe fittings, a stuck tank check valve, worn intake valves, pressure switch faults, or unloader valve venting issues. You can resolve the majority of these garage compressor breakdowns with standard hand tools by isolating leaks with soapy water, verifying proper electrical supply, cleaning check valve seats, and draining accumulated tank moisture.
GarageToolHQ earns a commission when you buy through links on our product pages, at no extra cost to you. Read our affiliate disclosure.
Below: what causes air compressor failures in a home shop, how to match symptoms to practical fixes, and a step-by-step diagnostic checklist to follow before replacing parts.
Air compressor problems and solutions: where garage breakdowns begin
A workshop air compressor combines an electric drive motor, a mechanical pump, a pressure switch, and a steel air tank. When the system fails to deliver steady compressed air to your air tools, the breakdown typically traces back to specific operating zones:
- Air leaks and line pressure drops. Threaded connections, quick-connect couplers, regulator diaphragms, and cracked hoses allow compressed air to escape continuously. A minor leak at a pipe joint forces the compressor to cycle repeatedly and drops working air pressure at the tool.
- Valve and check valve malfunctions. The tank check valve prevents stored tank pressure from back-feeding into the pump head. When dirt or carbon coats the check valve seal, air bleeds out through the unloader valve. Worn intake reed valves inside the pump head prevent the pistons from compressing air efficiently.
- Electrical switch and motor stalls. The pressure switch commands the motor to start at cut-in pressure and stop at cut-out pressure. Pitted electrical contacts, a failed motor capacitor, or voltage drop on an overloaded circuit causes the motor to hum loudly or trip the electrical breaker.
- Moisture accumulation and internal corrosion. Compressing garage air concentrates ambient humidity into liquid condensation inside the tank. Water pooling in the bottom of the vessel causes internal rust, weakens steel tank walls, and carries water droplets down air lines into pneumatic tools.
Symptom troubleshooting guide: matching compressor issues to fixes
| Symptom | Probable Cause | Shop Solution |
|---|---|---|
| Motor hums loudly but refuses to turn over | Unloader valve stuck closed or failed motor capacitor | Relieve trapped head pressure, inspect unloader valve, or consult a licensed electrician for capacitor replacement |
| Pump runs continuously without reaching cut-out pressure | Worn reed valves, blown valve plate gasket, or line leaks | Clean air intake filter, brush soapy water on pipe joints to locate air leaks, or replace worn pump reed valves |
| Tank pressure drops slowly while compressor is idle with no unloader hiss | Leaking drain petcock, loose pipe bungs, or faulty regulator | Brush soapy water across drain valve and threaded tank connections to identify and seal external leaks |
| Air hisses constantly from unloader valve after pump stops | Tank check valve failed to seat, allowing tank air to back-feed | Depressurize air tank completely, unscrew brass tank check valve, and clean internal spring and seal |
| Compressor trips circuit breaker immediately on startup | Cold pump oil drag on lubricated pumps, unloader stuck closed, or overloaded circuit | Plug directly into dedicated wall outlet, inspect unloader valve, and allow cold garage shop to warm up |
The label and technical manual decide proper operating pressures and maintenance procedures, not guesswork. Always refer to manufacturer documentation for component part numbers and pump oil specifications before disassembling compressor assemblies.
How to troubleshoot an air compressor: step-by-step diagnostic checklist
- Disconnect power and relieve tank pressure. Unplug the electrical cord or shut off the wall breaker, then open the tank drain valve or connect an air tool until the tank fully depressurizes before loosening fittings, removing safety guards, or inspecting valves.
- Inspect the air intake filter. Unthread the air intake housing, inspect the paper or foam element for accumulated shop dust or sanding residue, and clean or replace a blocked filter that starves the cylinders of air.
- Brush soapy water over all joints. Mix dish soap and water in a container, brush the suds over threaded bungs, quick-disconnect couplers, pressure switch fittings, and drain valves while the tank holds pressure, and watch for bubbling that reveals leaks.
- Observe unloader valve operation. When the compressor reaches normal cut-out pressure and the motor shuts down, listen for a sharp, momentary puff of air from the unloader valve. If air continues hissing steadily from the valve after the motor stops, the check valve is leaking.
- Clean or replace the tank check valve. If air escapes steadily from the unloader after shutdown, relieve all tank pressure, unscrew the brass check valve located where the pump discharge line enters the tank, clean debris from the valve seat, and ensure the spring-loaded disc moves freely.
- Open the bottom drain valve. Open the drain petcock at the lowest point of the air tank after every shop session. Drain moisture completely until clean air emerges, preventing standing condensation from rusting the vessel interior.
- Verify electrical supply and outlet connections. Always plug the compressor directly into a dedicated wall receptacle rather than a light-duty extension cord. If breakers trip during startup, have a licensed electrician check circuit sizing and wire gauge.
The ASME safety relief valve is an essential safety component that prevents explosive tank failure if the pressure switch fails to shut off the motor. Never cap, adjust, or bypass the safety relief valve, and never operate a compressor showing visible tank rust perforations or structural damage.
Drain the tank after use so water does not rust it from the inside, never exceed the tool's rated pressure, wear eye protection, and run 240V units on the circuit the manual calls for. Do not run a gas engine compressor in a closed garage. Read our Safety Disclaimer.
Oil-free vs oil-lubricated compressor troubleshooting
When diagnosing pump issues, pump design determines what can be repaired in a home garage. Our comparison of oil-free vs oil-lubricated air compressors details how these internal configurations differ. Oil-free compressors typically use PTFE piston rings and sealed bearings. Because these components run without crankcase oil, they generate higher operating temperatures, and worn piston rings or damaged valve plates lead to rapid loss of air delivery. Repairing an oil-free pump typically involves replacing the cylinder sleeve, piston ring, and reed valve assembly as a complete kit.
Oil-lubricated compressors utilize an oil bath crankcase and frequently feature cast-iron cylinders or cylinder sleeves, which enhances heat dissipation and supports extended pump lifespan during demanding shop tasks. However, neglecting pump oil leads to scored cylinder walls, stuck piston rings, and oil mist contaminating downstream air lines. If pump troubleshooting reveals severe internal mechanical wear and your existing unit cannot satisfy your air tool requirements, consult our guide on how to choose an air compressor to identify appropriate tank capacity and air delivery specifications.
Moisture control and air line plumbing in the garage
Moisture is an unavoidable physical outcome of compressing atmospheric air. When intake air is drawn into the pump cylinder, atmospheric humidity compresses alongside the air and cools inside the storage tank, turning into liquid water that pools along the bottom of the vessel. Allowing condensation to sit inside the tank promotes internal steel corrosion, flakes loose rust scale that clogs regulator orifices, and sends moisture through hoses directly into impact wrenches, air ratchets, and paint spray guns.
Learning how to drain water from an air compressor tank after completing shop projects is critical routine maintenance for every compressor owner. For pneumatic sanders, blow guns, and paint equipment, installing a dedicated air compressor dryer for the garage strips water vapor before air reaches sensitive tools. Pairing proper moisture filtration with a flexible air hose for the garage and following recommendations for how to plumb compressed air lines in a garage with sloped pipes and dedicated moisture drain legs prevents line condensation from disrupting your weekend automotive projects.
Frequently Asked Questions
Why is my air compressor running continuously without building full pressure?
Continuous running without pressure gain usually indicates a major air leak, worn reed valves, or a blown valve plate gasket inside the pump head. Start by checking hose couplers, regulators, and pipe joints with soapy water to rule out plumbing leaks. If all external lines are airtight, remove the air intake filter while the pump operates; if air pulses outward through the intake port, the intake reed valve is cracked or stuck open and requires replacement. Review our diagnostic breakdown on why an air compressor is not building pressure for additional inspection steps.
Why does my compressor motor hum loudly but refuse to turn over?
A humming motor that fails to turn over indicates high trapped head pressure, a failed start capacitor, low line voltage, or a seized pump assembly. Shut off power immediately to avoid burning motor windings. Disconnect the power cord, verify that the unloader valve has released trapped head pressure, and attempt to turn the pump flywheel or motor shaft by hand with the unit unplugged. If the pump rotates smoothly by hand but the motor hums when energized on a dedicated circuit, have a licensed electrician check the motor start capacitor and centrifugal switch.
What causes air to leak continuously from the unloader valve after the pump stops?
When air hisses continuously from the unloader valve or pressure switch port after the motor shuts off, the issue is almost always a faulty tank check valve rather than an unloader defect. The check valve located where the pump discharge tube enters the tank prevents stored air from back-feeding into the pump head. When carbon or debris prevents the check valve from seating, tank air leaks backward through the unloader line to atmosphere. Depressurize the tank completely, unthread the check valve, clean the internal seat, or install a replacement valve.
Why does my air compressor trip the electrical breaker on startup?
Startup breaker trips occur when the electric motor draws excessive starting current. Common causes include a stuck unloader valve forcing the motor to start against trapped pump head pressure, cold ambient garage temperatures thickening pump oil, a failing motor capacitor, or powering the compressor through an undersized extension cord. Plug the compressor directly into a dedicated wall outlet on a properly sized branch circuit, and review our troubleshooting guide on why an air compressor keeps tripping the breaker. For electrical panel questions, always consult a licensed electrician.
How often should I drain moisture from my compressor tank?
Drain accumulated tank moisture after every work session or at the conclusion of each day the compressor is used. Humid garage air condenses rapidly under compression, and water pooling in the bottom of the vessel causes internal rust that degrades tank integrity over time. Opening the bottom drain valve purges accumulated condensation and prevents rusty water from blowing through hoses into pneumatic tools. Following our comprehensive guide to air compressor maintenance keeps valves, tanks, and regulators in top operating condition.
Can I repair or weld a rusted air compressor tank?
Never weld, patch, or drill a rusted air compressor tank. An air tank is an ASME pressure vessel that stores immense kinetic energy. Pinhole leaks or external pitting indicate that internal rust has severely thinned the steel vessel walls. Welding compromises the heat treatment of the metal, creating brittle areas prone to violent rupture under pressure. If a compressor tank develops a leak or shows deep rust pitting, retire the tank immediately and replace it.
Related: why an air compressor is not building pressure, compressor breaker tripping causes, how to drain an air compressor tank, routine air compressor maintenance, and our air compressors hub.